Project files
A project in install4j is the collection of all information required to build media files,
the deliverables that can be distributed to the target platforms.
A project is saved to a single XML file with an .install4j extension. Project files
are platform-independent, you can open and compile them on any supported platform.
The compilation step will produce the media files from the project definition.
All paths that you enter in install4j are saved as absolute paths by default. This allows you
to move the project file to a different location on your computer, and the compilation will still work.
If you wish to use your project file on multiple computers or platforms or compile your launchers with automatic
build agents, it is more convenient to use relative paths. On the "General Settings->Project Options" step,
install4j provides an option to convert all paths to relative paths when you save your project.
install4j keeps a list of recently opened projects under Project→Reopen. By default, install4j opens the last project on startup. This behavior can be changed in the preferences dialog by choosing Project→Preferences from the main menu. You can pass the name of a project file as a command line parameter to install4j to open it on startup. Also, the command line compiler expects the project file name as its argument.
Contents of a project
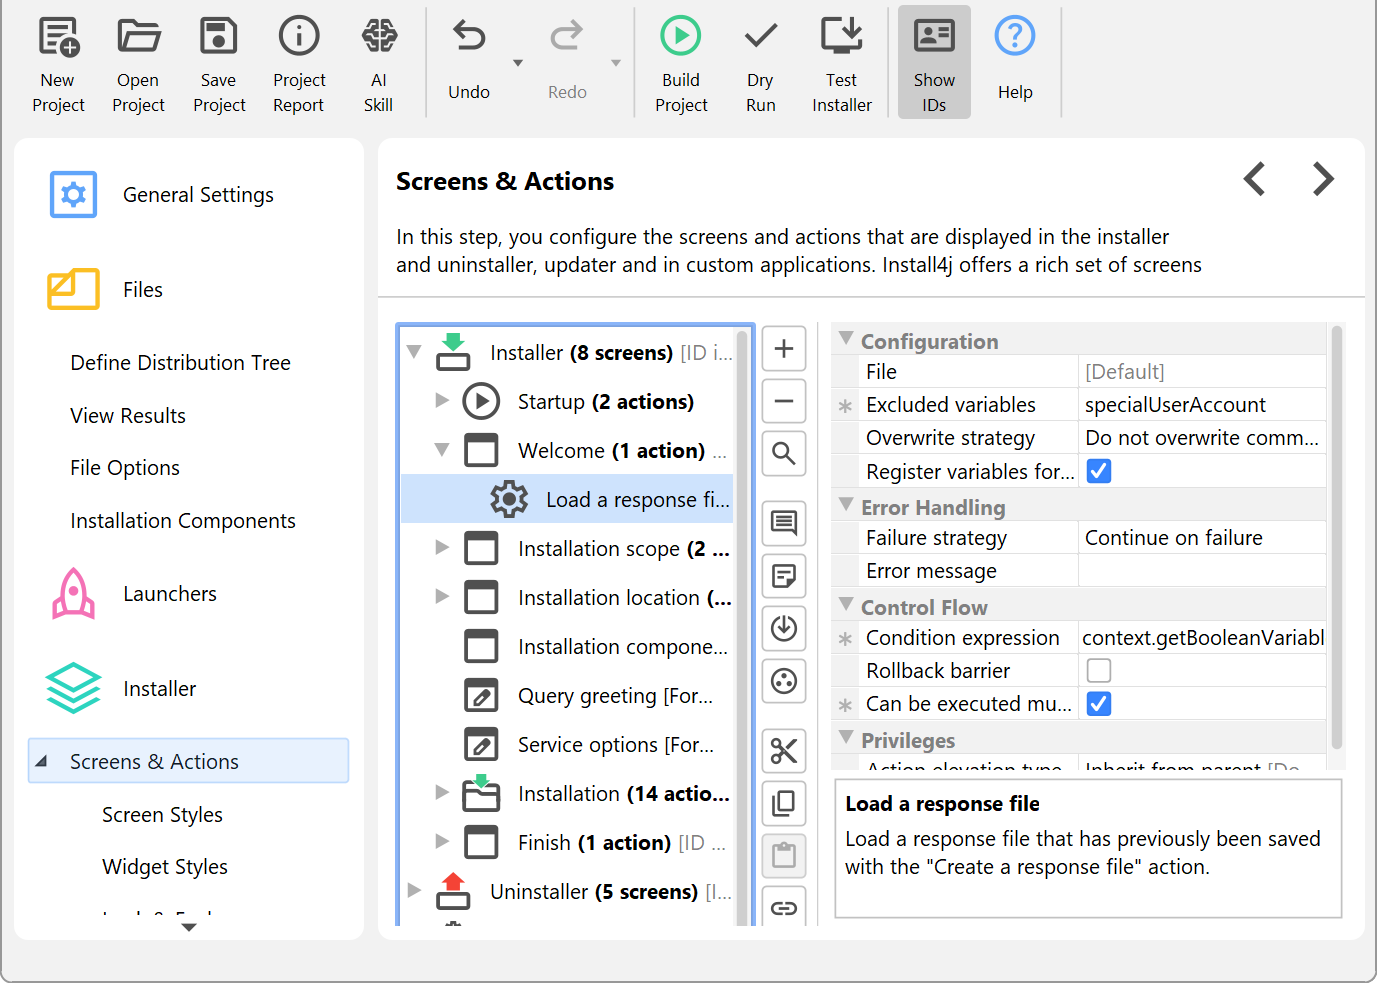
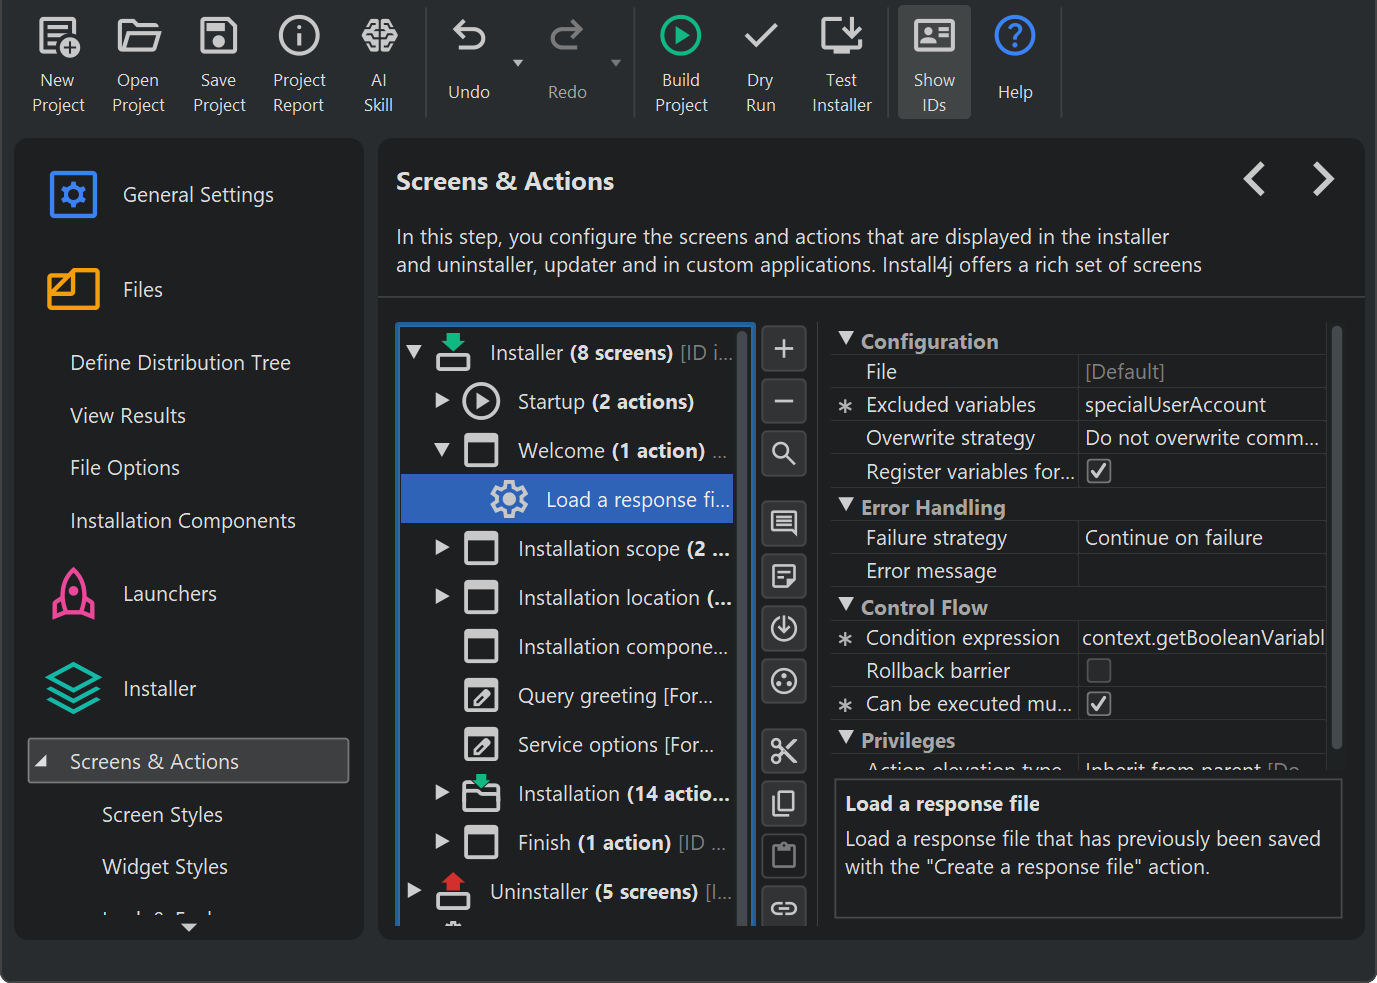
The following paragraphs give a high-level overview of the elements that you can configure in install4j. Each of the configuration sections in install4j as shown in the screenshots below represents a top-level concept in install4j.
Typically, a project defines the distribution of a single application. An application has an automatically generated application ID that allows installers to recognize previous installations.
At the core of the project definition is the sequence of installer screens and actions. They determine what the users see, what information they can enter and what the installer does. install4j offers a lot of flexibility regarding the configuration of your installer. Besides creating traditional application installers, install4j is equally suited to create small applications that modify the target system in some way.
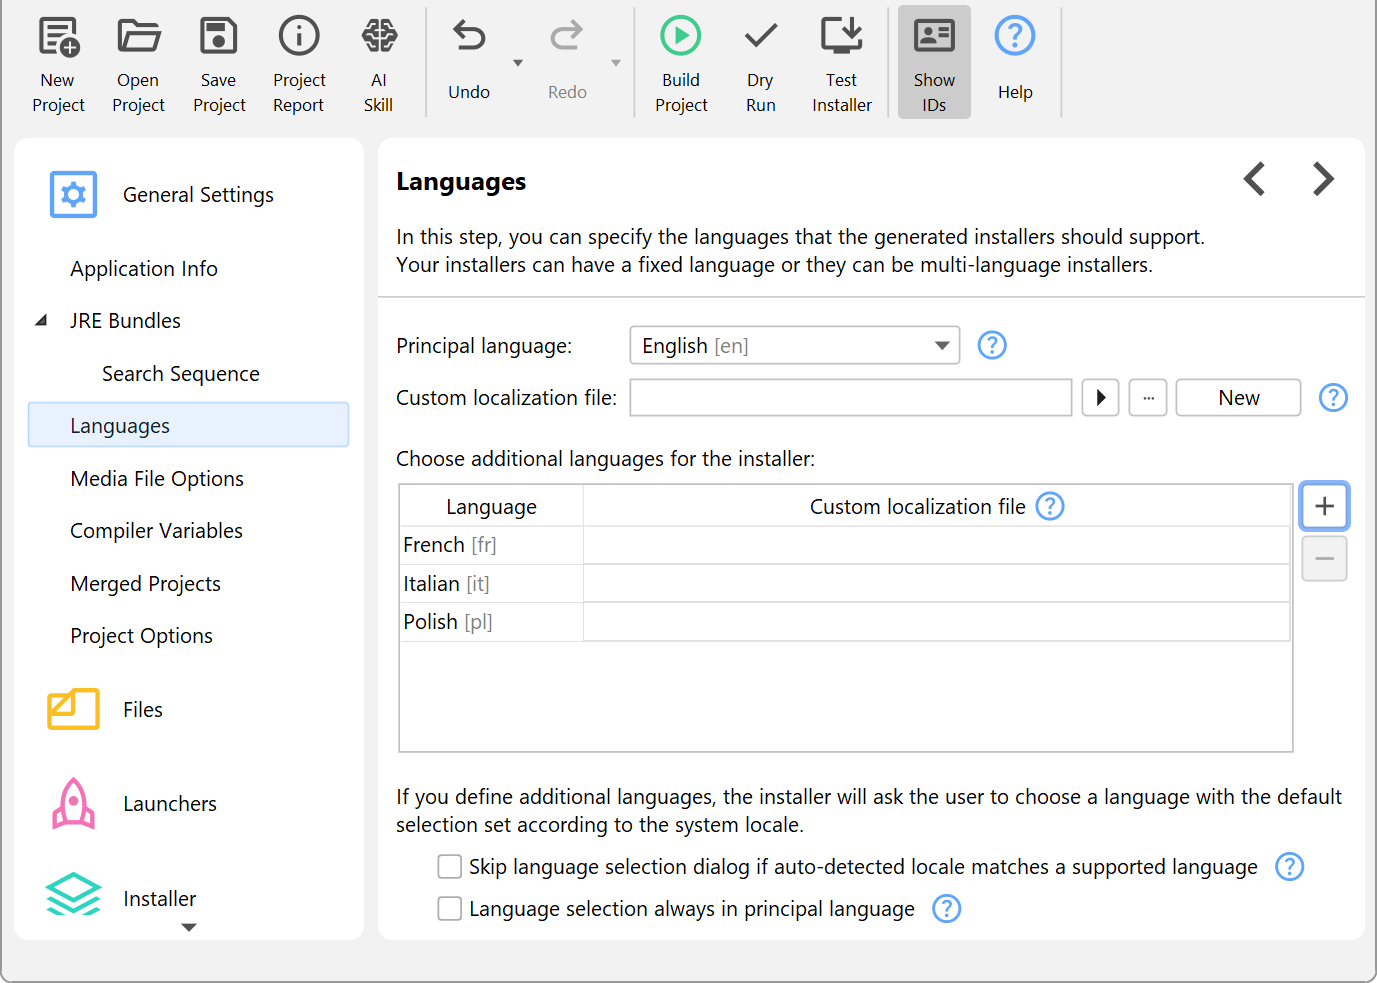
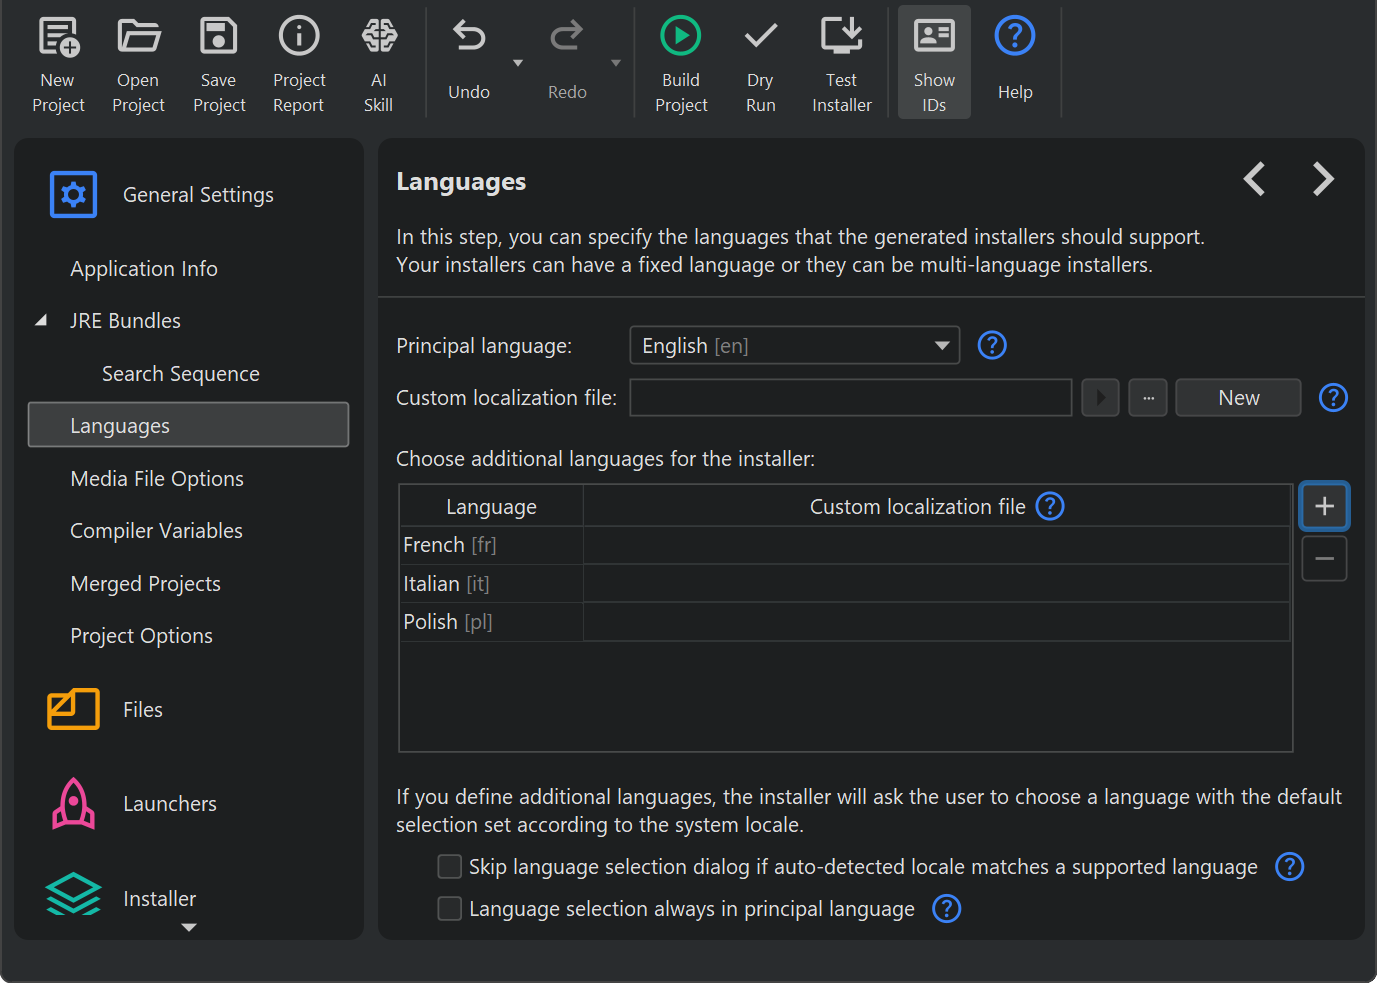
The install4j runtime is localized into many languages. You can configure your installers to support one or multiple languages.
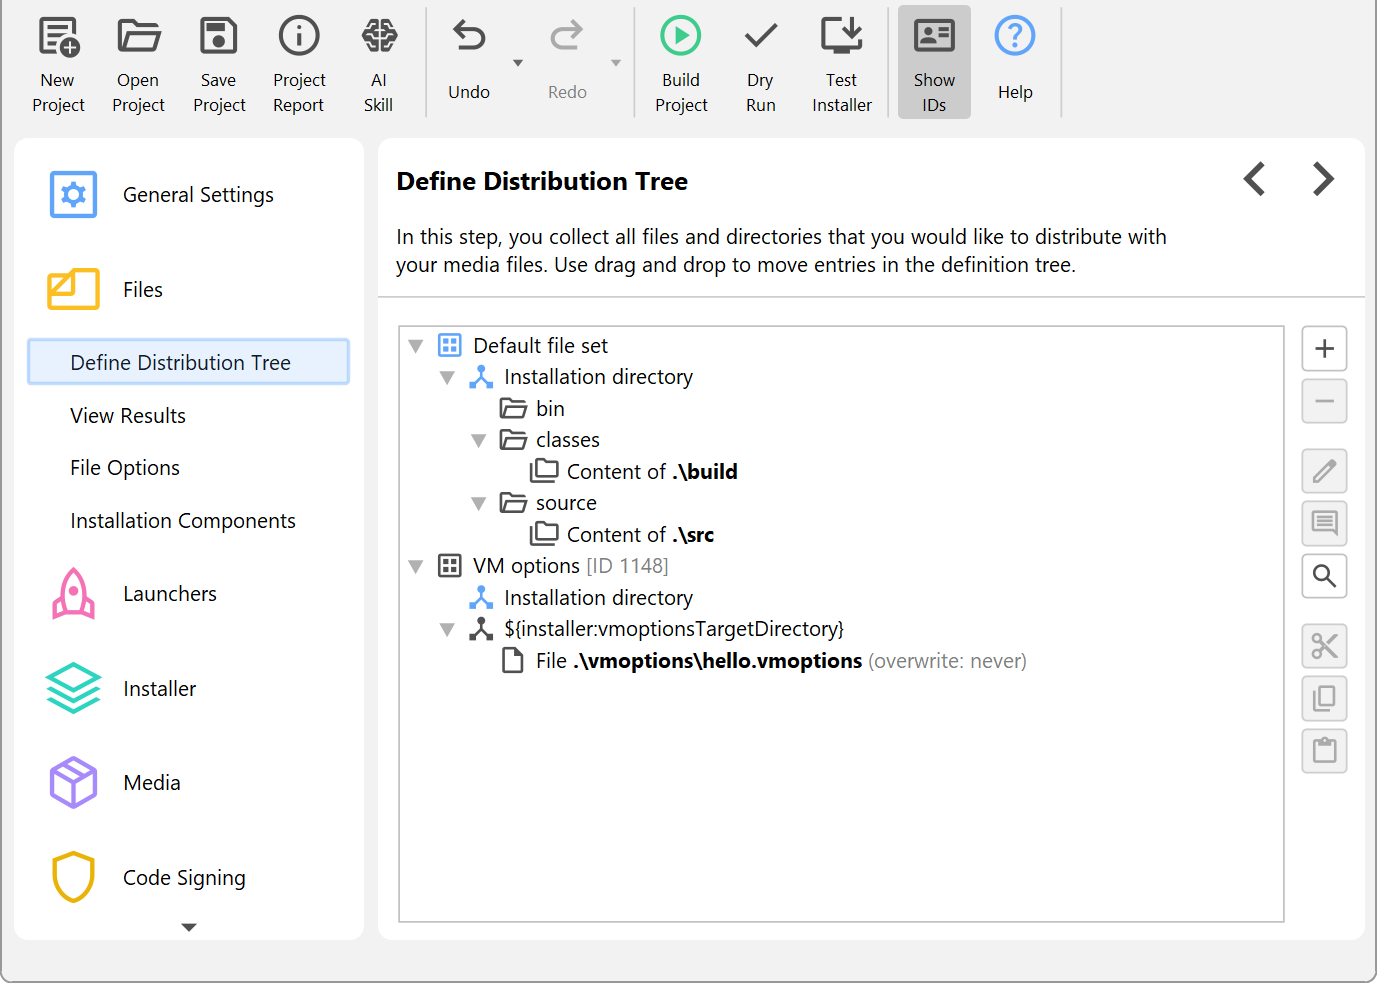
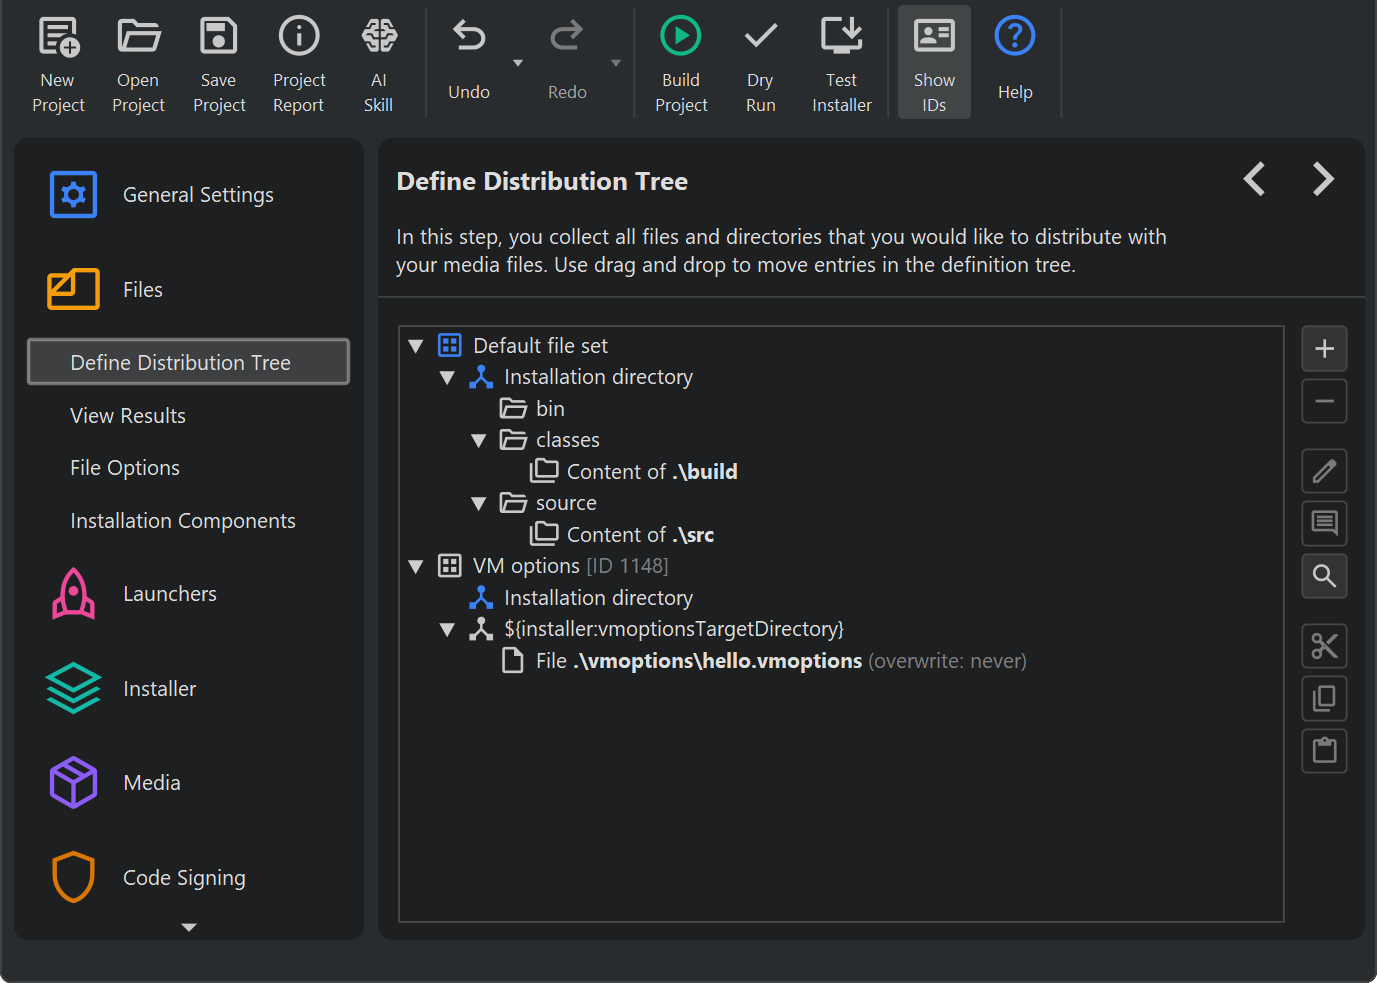
Most installers install files to a dedicated directory and optionally to several existing directories on the target computer. That's what the "Files" section in the install4j IDE is for. Here, you define a "distribution tree", and optionally "installation components" which can also be downloaded on demand.
The actual installation of these files is handled by the "Install files" action which is part of the default project template. If your installers should not install any files, you can remove that action and ignore the "Files" configuration section. When the "Install files" action is executed, it creates an uninstaller. The uninstaller offers the same flexibility as the installer and is configured in the same way.
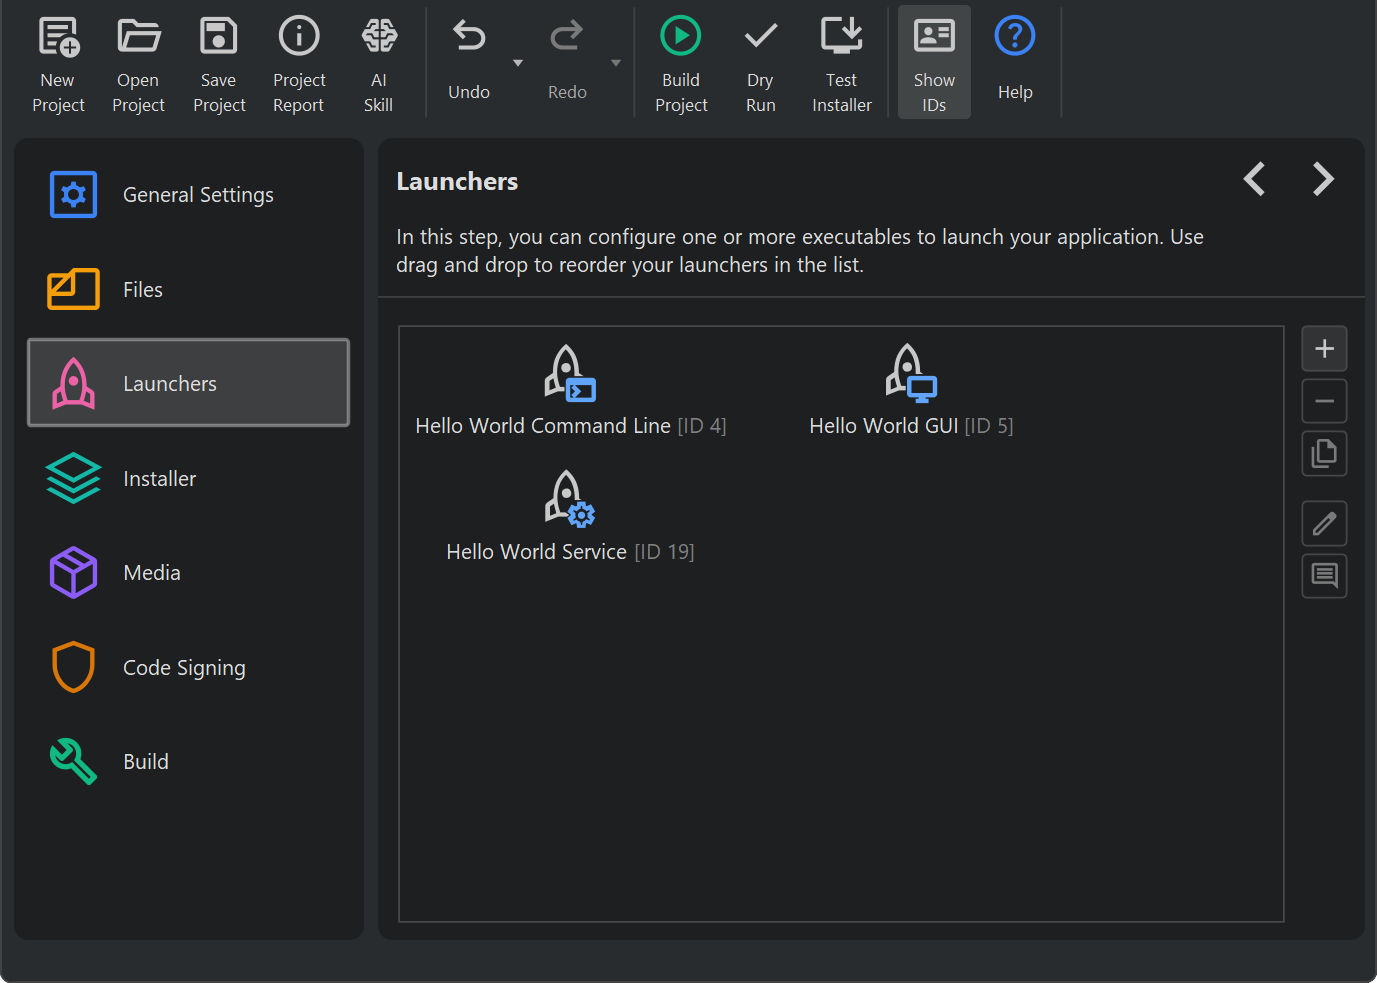
Unless the installed files are only static data, you will need application launchers to allow the user to start your application. You can define one or several application launchers in the "Launchers" section. Launchers generated by install4j have a rich set of configuration options, including an optional splash screen or advanced features like a single instance mode. Configured launchers can also be "services" that run independently of logged-on users. install4j offers special installation screens and actions for services.
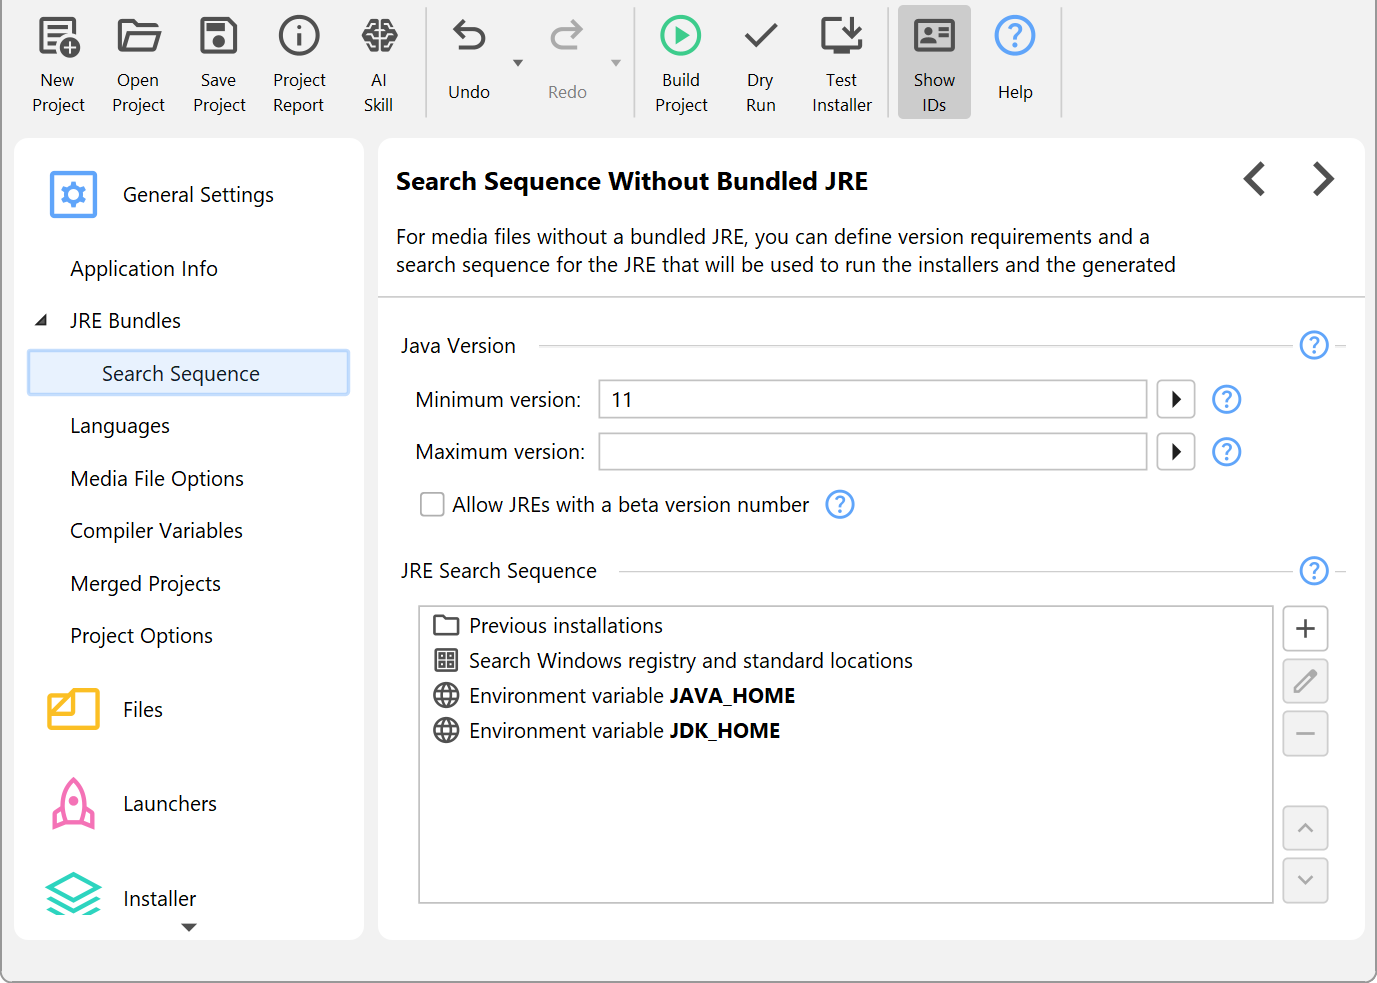
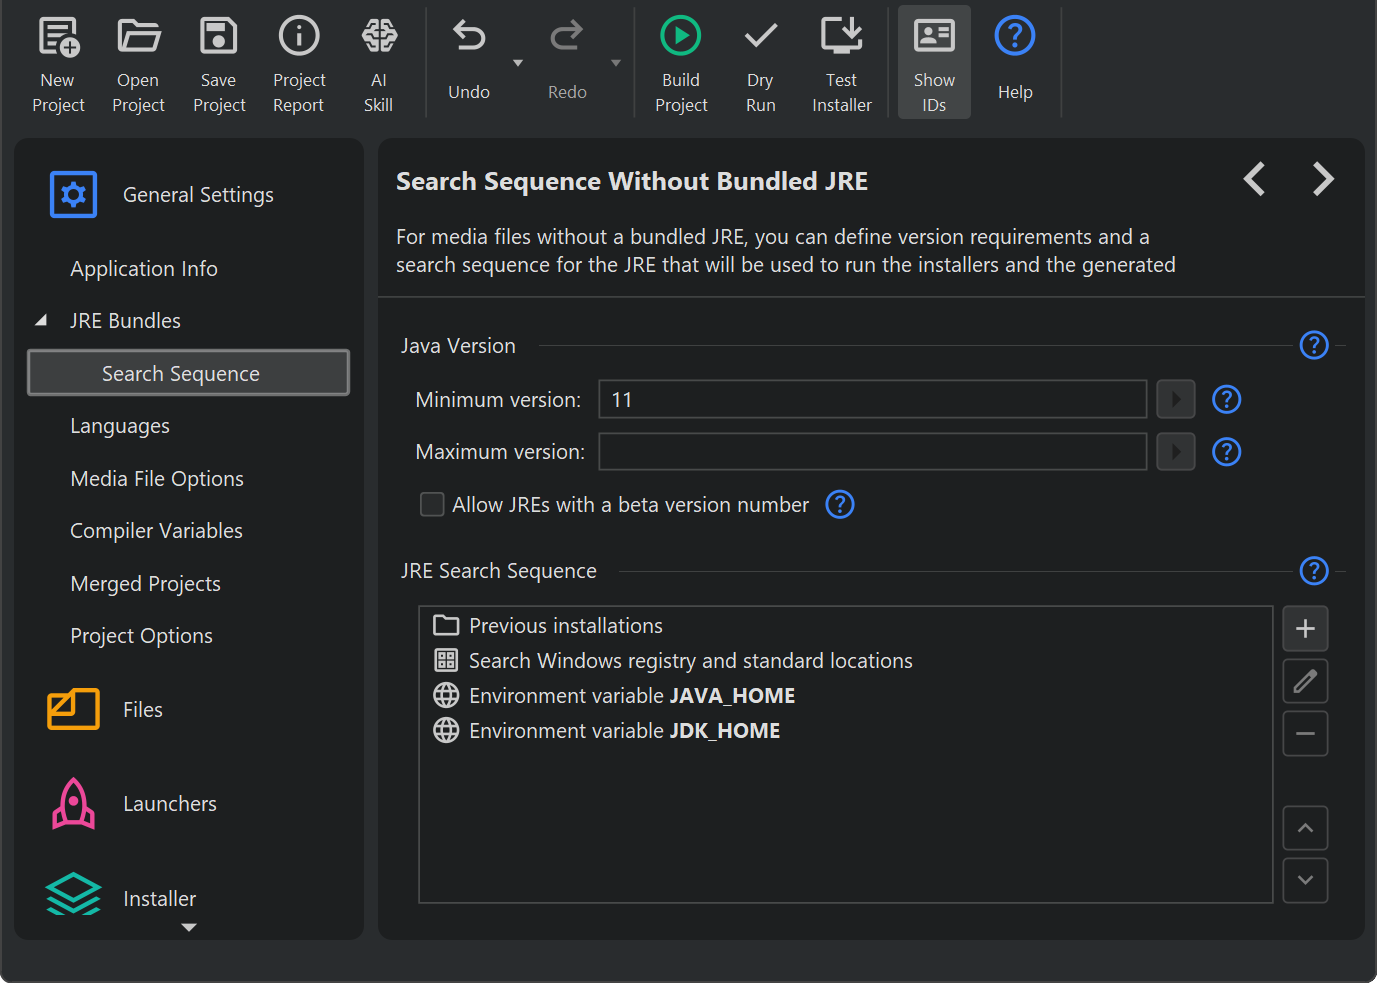
install4j has many advanced features concerning bundling of JREs or the runtime-detection of an installed JRE. Bundling of JREs is configured on the "JRE bundles" step and can be refined on a per-media file basis. If you do not wish to bundle a JRE, you define Java version constraints and a search sequence for both your installers and your generated launchers. In this way, you ensure that the launchers run with the same JRE as your installers.
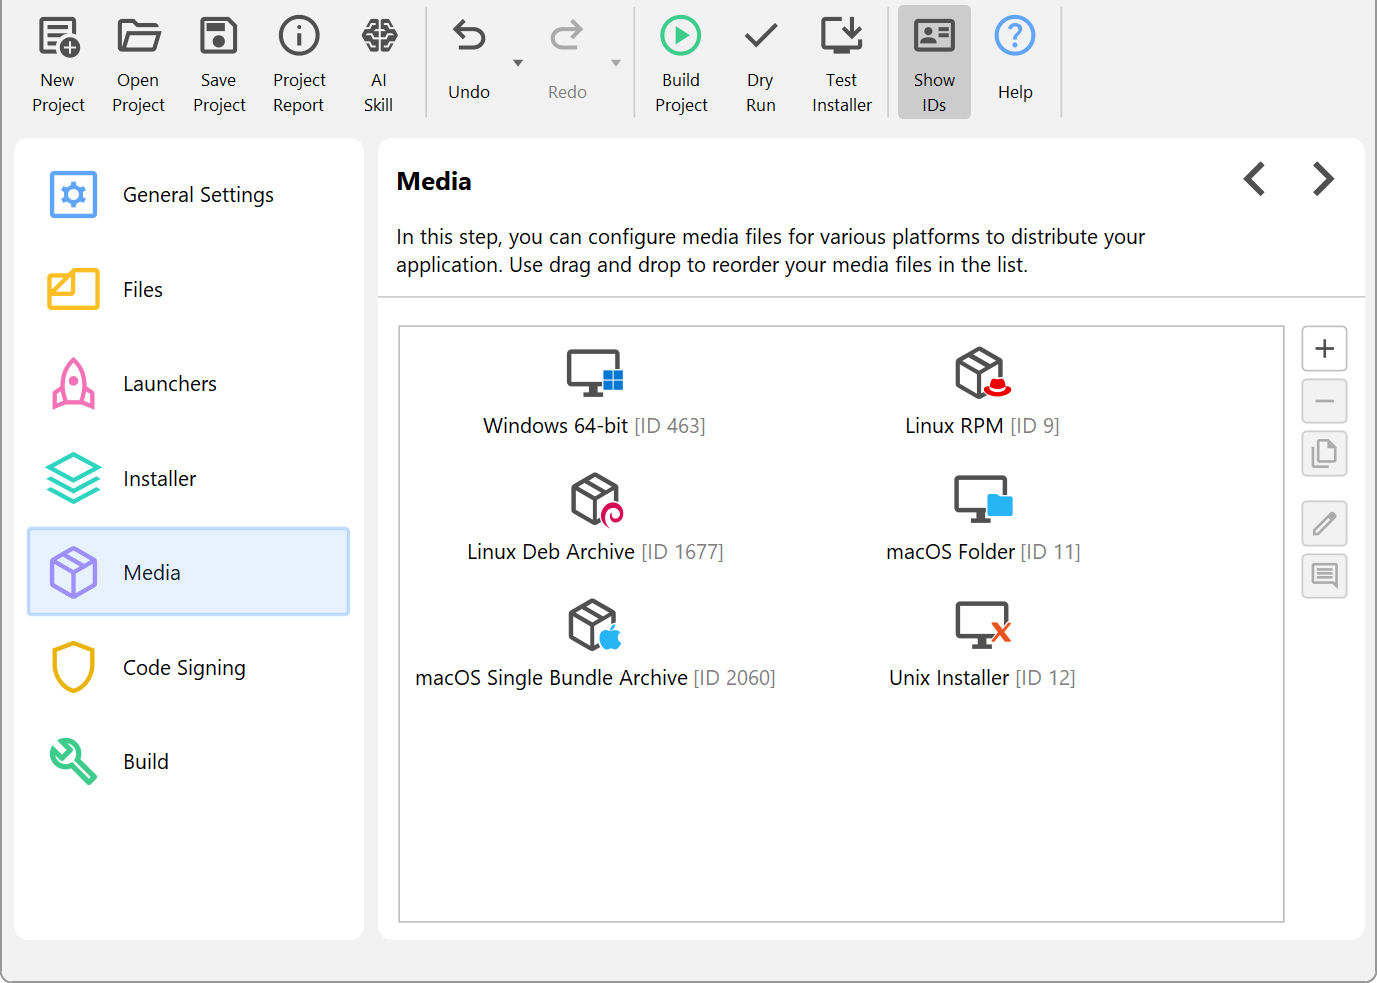
Finally, the media file definitions define the actual executables that you distribute. They capture platform-specific information and provide several ways to override project settings. You typically define one media file for each platform. Multiple media files for the same platform can be added as needed. Media files are either installers or archives. Archives simply capture the launchers and the distribution tree. They are a limited way to create a distribution and might not be suitable if you rely on the flexibility that is offered by installers.
Project reports
install4j projects can become quite complex, especially the definition of the installer can be very hierarchical
with hundreds of nested elements each of which may have important configuration in their properties.
To check all your project settings on a single page or to print out your project
definition, install4j offers a project report.
The
action to create such a report is available in the
toolbar. When you generate a report, an HTML file is written to disk together with a directory named
install4j_images that holds all referenced image files.
If you are looking for certain text value in a property or a particular piece of code in one of your scripts, use the search functionality in the browser when viewing the exported report to cover all parts of the project.
IDs of project elements
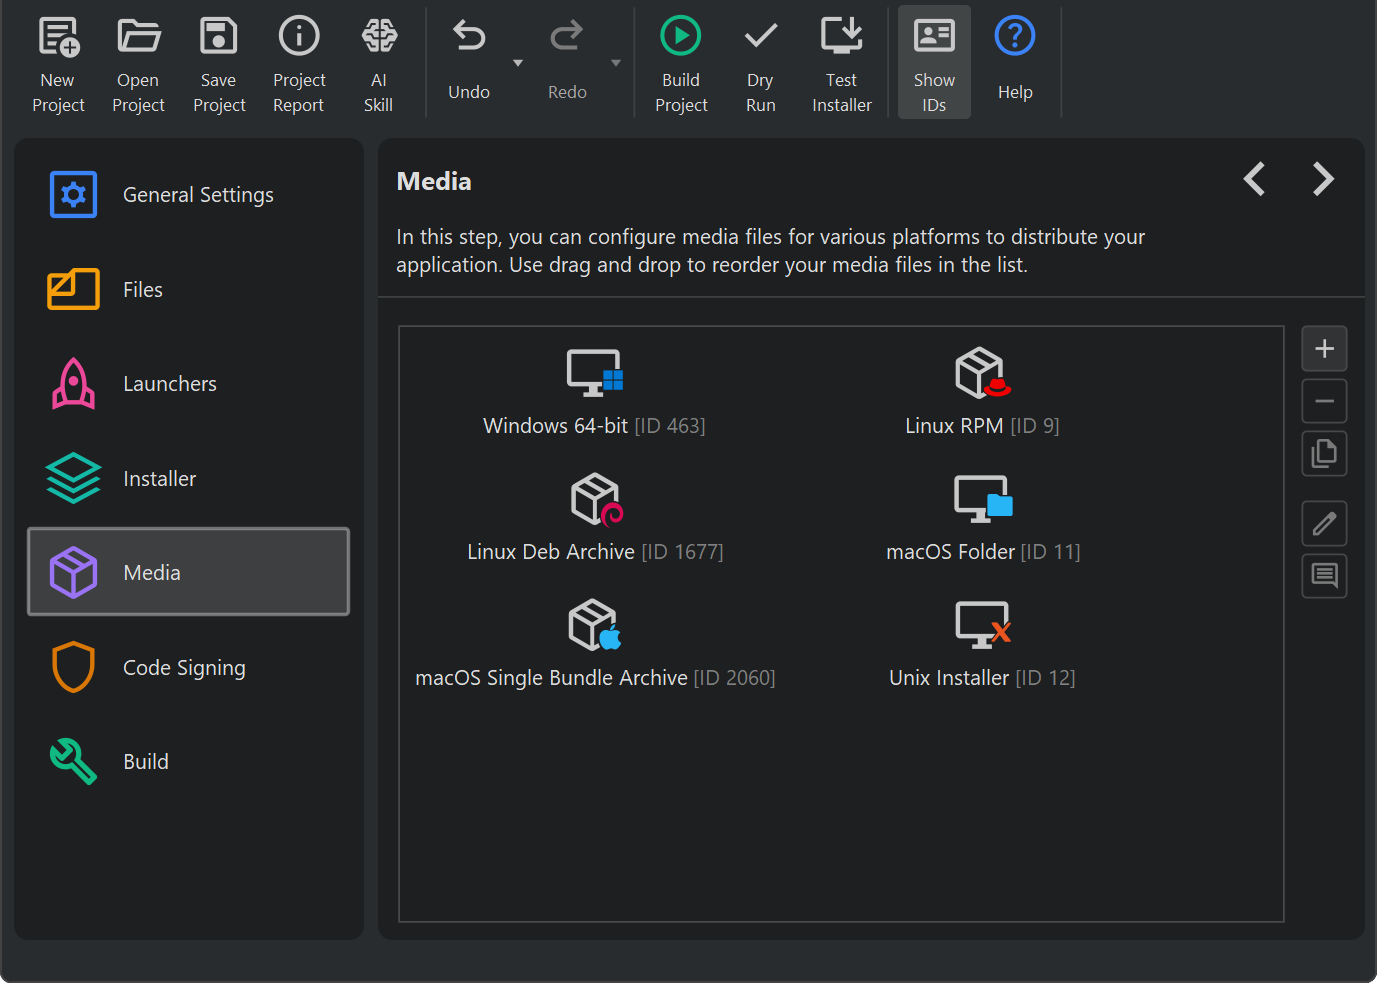
All elements in projects that can be referenced at runtime, like installation components, launchers, screens, actions, form components or media files have an automatically assigned ID. You can toggle the display of IDs globally in the toolbar. You may need to use IDs when using the API in scripts. Scripts are written in plain Java in a code editor provided by install4j.
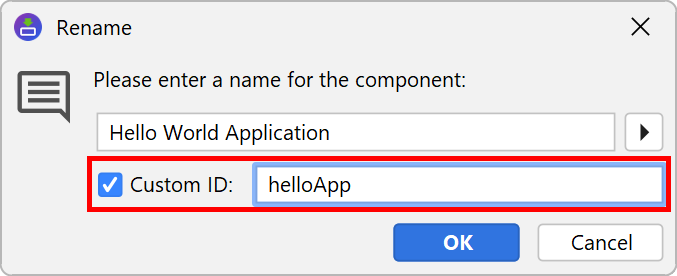
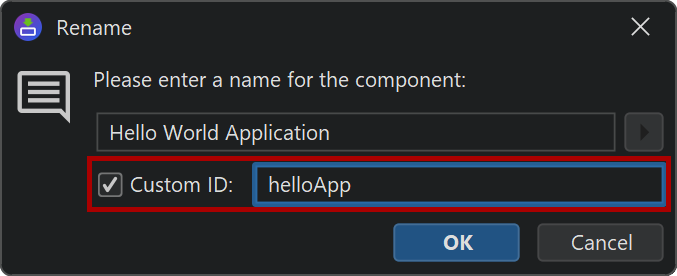
If you would rather not reference automatically generated IDs in your scripts, you can specify your own custom IDs. Custom IDs can be assigned by using the "Rename" action for the selected element and selecting the "Custom ID" check box in the rename dialog. Custom IDs must not start with a number. The numeric internal ID is never discarded. If you disable the custom ID at a later point, the ID will be reverted to the previous numeric ID.
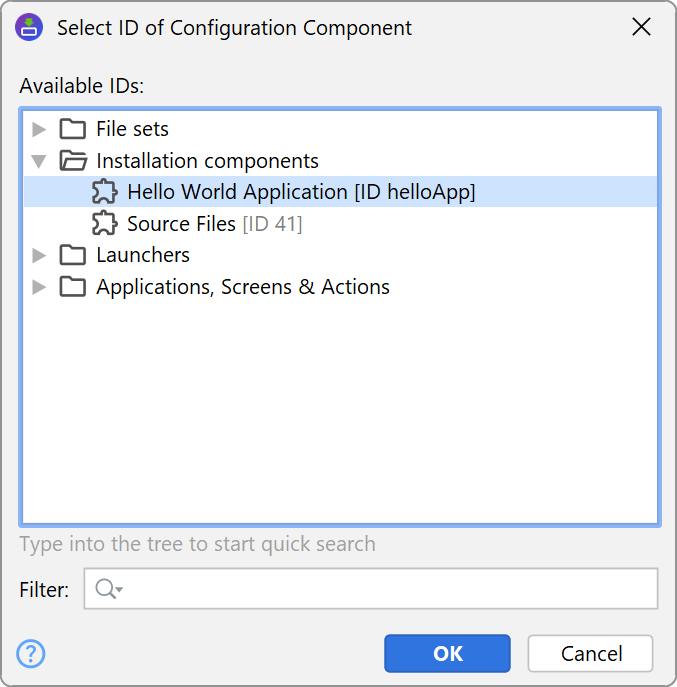
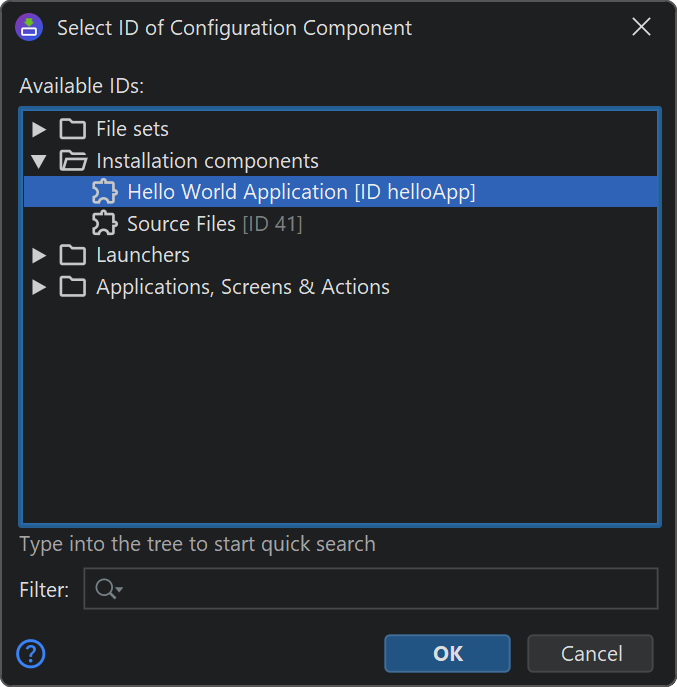
The "Insert ID" action in the script editor inserts custom IDs instead of the numeric IDs.
All get...ById() methods in the API accept both the custom ID and the internal numeric ID.
This means that you can set a custom ID without breaking anything in the project.
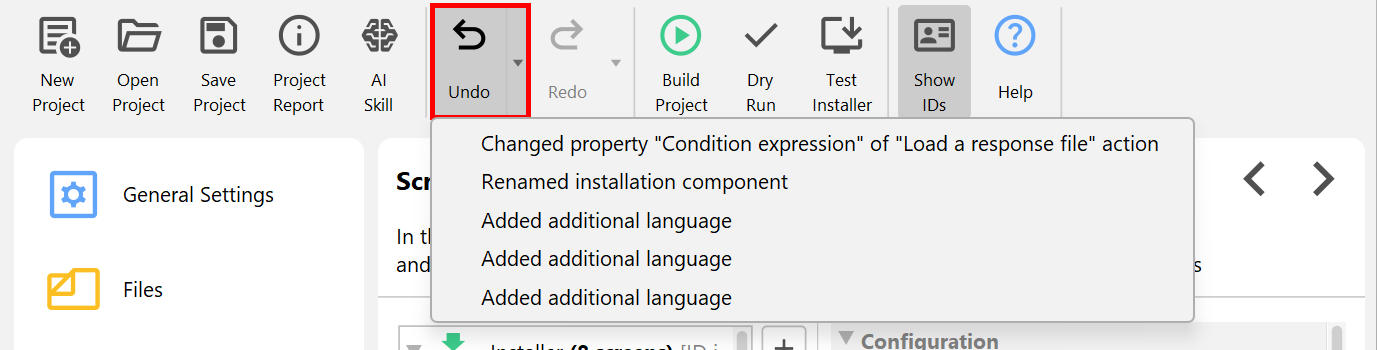
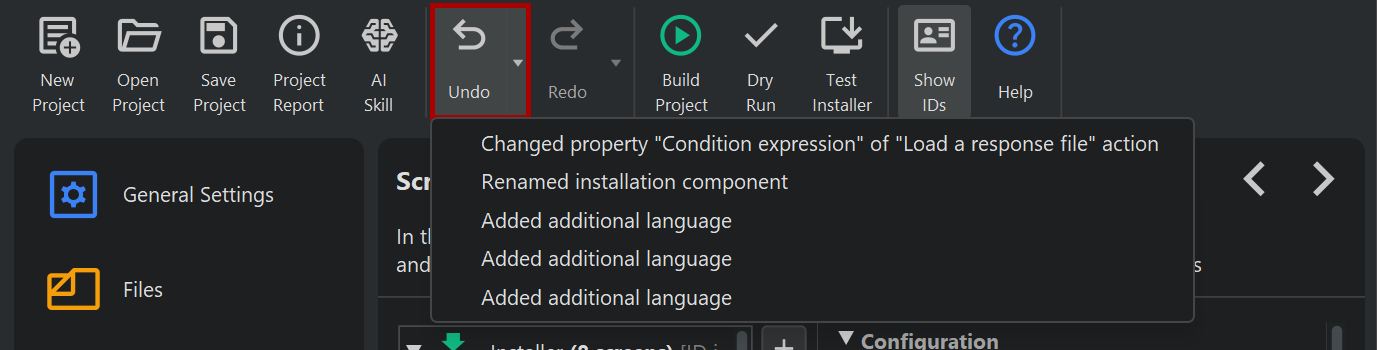
Undo in all views
All changes in the install4j IDE can be undone with the undo toolbar button. The arrow on the right side opens a list of changes in a popup menu for inspection. Selecting one of these entries undoes all changes up to and including the selected change. The same feature is available for redoing undone changes.