There are two different use cases where the install4j API is required: Within expression/script properties in the configuration GUI and for the development of custom elements in install4j. The development of custom elements in install4j is rarely necessary for typical installers, most simple custom actions can be performed with a "Run script" action, and most custom forms can be realized with a "Customizable form" screen.
If you would like to use your IDE while writing more complex custom code, you can put a single call to custom code into expression/script properties. The location of your custom code classes must be configured on the "Installer->Screens & Actions->Custom Code" step, so install4j will package it with the installer and put in into the class path. In this way you can completely avoid the use of the interfaces required to extend install4j.
Expression/script properties
Using expression/script properties in install4j is required for wiring together screens and actions as well as for the conditional execution of screens and actions. The most important element in this respect is the context which is an instance of
-
com.api.install4j.context.InstallerContext
in an installer -
com.api.install4j.context.UninstallerContext
in an uninstaller
The context allows you to query the environment and the configuration of the installer as well as to perform some common tasks.
See the documentation of the com.install4j.api.context package for the complete documentation of all methods in the context. Some common applications include:
-
Setting the installation directory
By usingcontext.setInstallationDirectory(File installationDirectory)in the installer context, you can change the default installation directory for the installer. Typically, this call is placed into a "Run script" action on the "Startup" screen. -
Getting and setting installer variables
ThegetVariable(String variableName)andsetVariable(String variableName, Object value)methods allow you to query and modify installer variables. Note that besides the "Run script" action, there is also a "Set a variable action" where you don't have to callsetVariableyourself. -
Conditionally executing screens or actions
Often, condition expressions for screens and actions check the values of variables. In addition, the context provides a number of boolean getters that you can use for conditionally executing screens and actions depending on the installer mode and environment. These methods includeisConsole(),isUnattended()and others. -
Navigating between screens
Depending on the user selection on a screen, you might want to skip a number of screens. ThegoForward(...),goBack(...)andgoBackInHistory(...)methods provide the easiest way to achieve this.
Many other context methods are only useful if you develop custom elements for install4j.
Also have a look at the com.install4j.api.Util class which offers a number of utility methods
that are useful in expression/script properties.
Development environment
To develop custom elements in your IDE, you have to add the install4j API to the compilation class path. The entire install4j API is contained in the single artifact with maven coordinates
group: com.install4j
artifact: install4j-runtime
version: <install4j version>
where the install4j version corresponding to this manual is 13.0.2.
Jar, source and Javadoc artifacts are published to the Maven Central repository. You can either add the API to your development class path with a build tool like Gradle or Maven, or use the JAR file
resource/i4jruntime.jar
in the install4j installation.
To browse the Javadoc, go to
javadoc/index.html
For a general overview on how to start developing with the install4j API, how to set up your IDE and how to debug your custom elements, see the API overview in the javadoc.
Developing custom elements for install4j
install4j provides four extension points: actions, screens, form components and styles
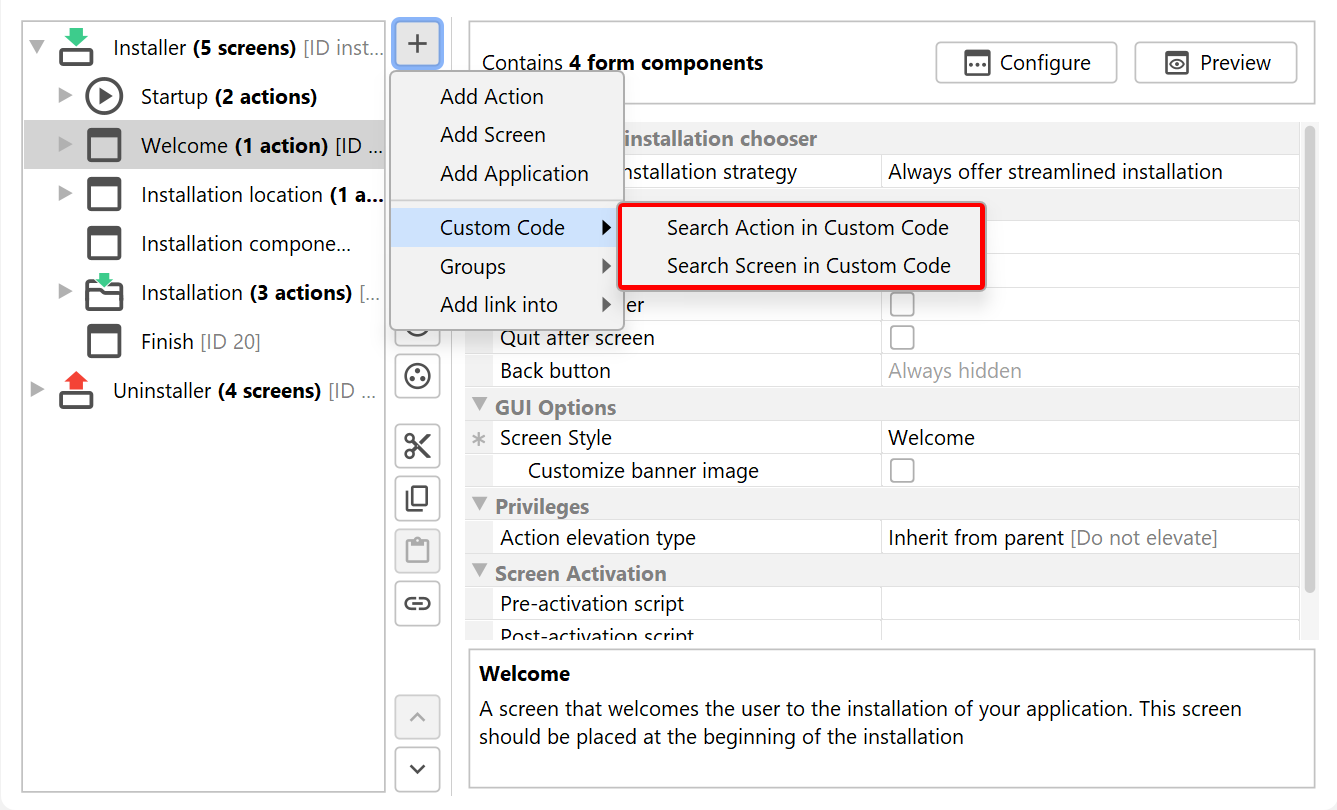
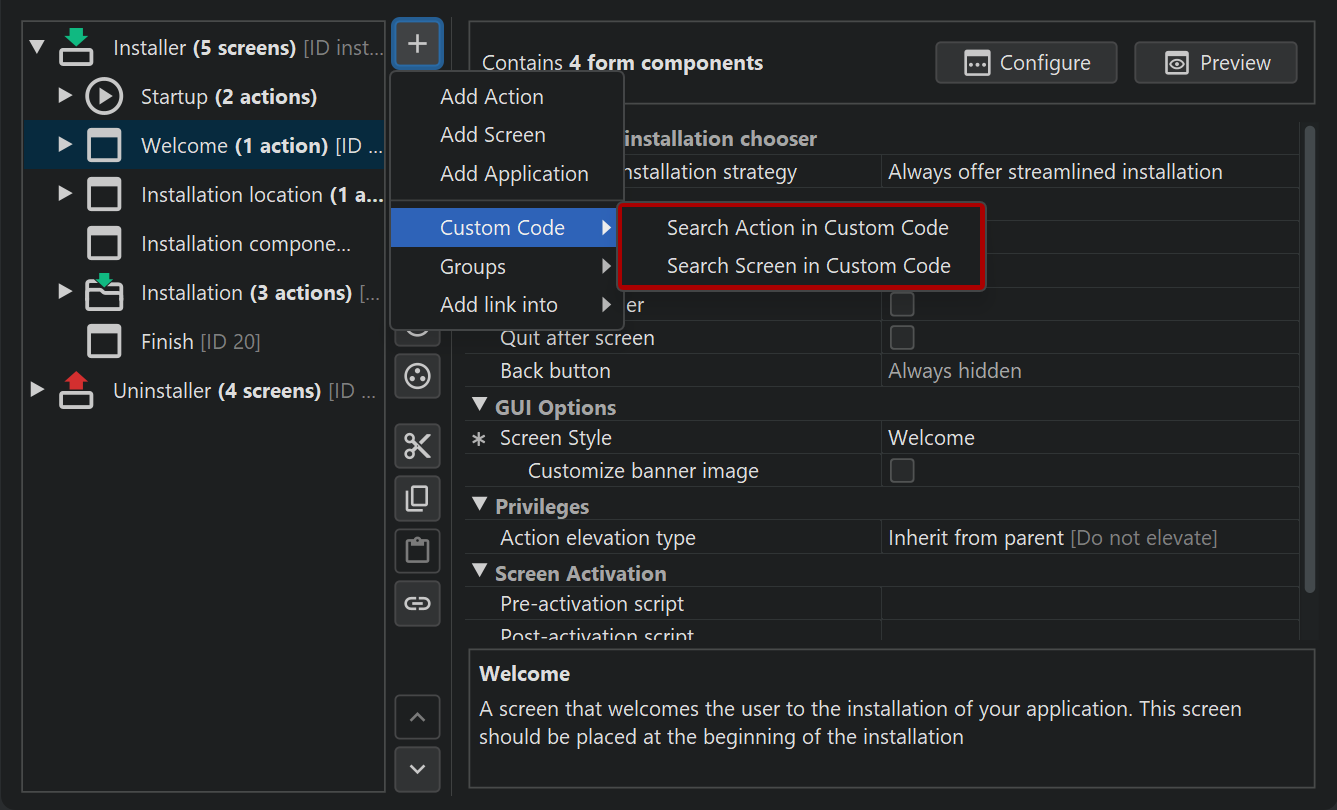
All actions, screens and form components in install4j use this API themselves. To make your custom elements selectable in the install4j IDE, you first have to configure the custom code locations on the "Installer->Screens & Actions->Custom Code" step. When you add an action, screen or form component, the first popup gives you the choice on whether to add a standard element or search for suitable elements in your custom code.
If you want to ship your custom code to third parties, consider packaging an install4j extension, which displays your custom elements alongside the standard elements that are provided by install4j and allows you to add dependency JAR files that are included in the installers if any of the contained elements are used in a project.
Serialization
install4j serializes all instances of screens, actions and form components with the default serialization mechanism for JavaBeans.
To learn more about JavaBeans serialization, visit
- https://docs.oracle.com/javase/8/docs/api/java/beans/XMLEncoder.html for API documentation on the long-term persistence mechanism for JavaBeans.
- https://www.oracle.com/technical-resources/articles/java/persistence4.html for information on how to write your own persistence delegates. In your beaninfos for screens, actions and form components, you can specify a list of additional persistence delegates for non-default types. Writing custom persistence delegates will generally not be necessary unless you want to serialize special types from third party libraries.
Compiler variables are replaced in the serialized representation of a bean. In this way, compiler variable
replacement is automatically available for all properties of type java.lang.String.
The values of installer variables and localization keys are determined at runtime, so you
have to call the utility methods in com.install4j.api.beans.AbstractBean before you use the values in the installer or uninstaller.
For more information on variables, see the separate help topic.
Internationalization
install4j offers custom localization files in the install4j IDE to
localize your own messages. com.install4j.api.context.Context.getMessage(String key)
gives access to all messages.
If you develop your own user-configurable screens, actions or form components, you can replace all custom localization keys
and installer variables in property values with calls to the
com.install4j.api.beans.AbstractBean.replaceVariables(...) methods. All abstract base classes for
beans extend com.install4j.api.beans.AbstractBean.
The locale of the installer will always be set to the language selected by the user or configured for the media file,
not the locale of the system that the installer is running on.
You can call com.install4j.api.context.Context.getLanguageId()
to find out what language your installer is running with.
Testing and debugging
To test and debug screens, actions and form components for your installer, enable the
Create additional debug launcher build option in the "Build" section. After the build,
your media file output directory will contain directories with the name
debug_[name of the media file without the file extension] for each media file that you have built.
The debug directories contain
- the Windows batch files
debug_installer.batanddebug_uninstaller.batfor Windows media files - the shell scripts
debug_installer.shanddebug_uninstaller.shfor media files of Unix-based platforms
These scripts start the installer and the uninstaller with a plain java invocation. All exceptions are directly printed to stderr, and no separate error log files are created.
The file user.jar in the debug directory contains all your custom code. For interactive development,
you will not want to rebuild the project after each modification of your custom code.
You can set up the installer or the uninstaller in your IDE by
- setting the working directory to the debug directory
- including your own code in the class path
- including i4jruntime.jar in the class path
- including user.jar in the class path. Your own code will also be contained in user.jar, but the IDE typically places project code at the beginning of the class path so it will override equivalent classes in user.jar.
- using the main class
com.install4j.runtime.installer.Installerfor the installer orcom.install4j.runtime.installer.Uninstallerfor the uninstaller - passing the VM parameter
-Dinstall4j.debug=true
Note that the working directory for the executed java process must be the debug directory, otherwise both the installer and the uninstaller will not work.
This procedure allows for an edit-compile-debug cycle that is much faster than building the media file and running the installer. In addition, output on stderr and stdout can be captured, and you can debug your screens, actions and form components this way.