Fixed VM parameters
Fixed VM parameters can be configured in the launcher wizard where you can use compiler variables to handle platform-specific changes or launcher variables to use runtime-dependent variable in your VM parameters.
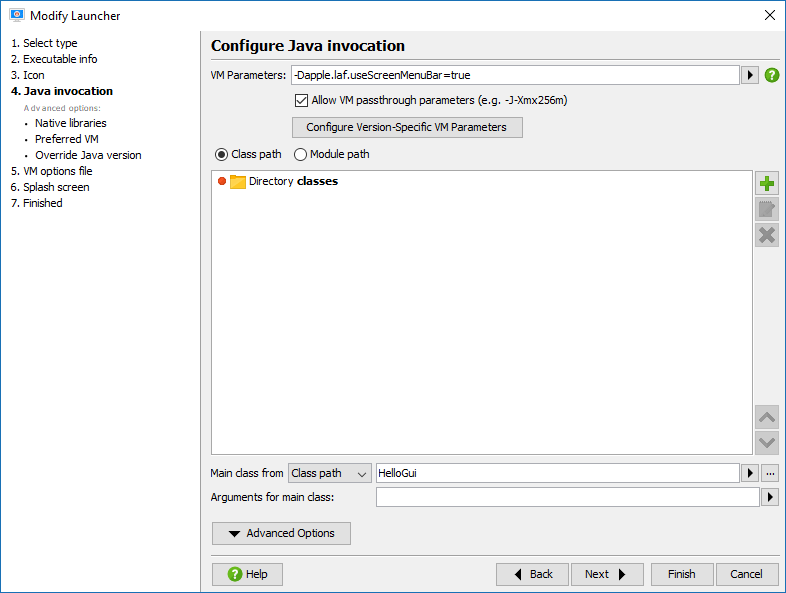
install4j has the ability to add specific VM parameters depending on the Java version. To set this up, click on the Configure version specific VM parameters button. In the dialog, add rows for each Java version that should receive specific VM parameters. The comparison checks if the Java version string starts with the specified characters, so "1.8" will match "1.8.0_60", for example. These VM parameters are added after the common VM parameters so you can use them to override common settings.
*.vmoptions files
A common requirement is to adjust the VM parameters of your application launchers depending on the runtime environment like the target platform or some user selection in the installer.
In addition to the fixed VM parameters, a parameter file
in the same directory as the executable is read and its contents are added to
the existing VM parameters. The name of this parameter file is the same as the
executable file with the extension .vmoptions.
For example, if your executable is named hello.exe, the name of the VM
parameter file is hello.vmoptions. In this file, each line is
interpreted as a single VM parameter. The last line must be followed by a line feed.
install4j adapts your .vmoptions files during the compilation phase so that the line endings
are suitable for all platforms. For example, the contents of the VM parameter
file could be:
-Xmx128m
-Xms32m
.vmoptions files allow the installer as well as expert users to modify the
VM parameters for your application launchers.
It is possible to include other .vmoptions files from a .vmoptions file with the
syntax
-include-options [path to other .vmoptions file]
.vmoptions file.
Recursive includes are supported. You can also add this option to the fixed VM parameters
of a launcher. In that way, you do not have to create .vmoptions files for
all your launchers, but you can have a single .vmoptions file for all of them.
This allows you to to centralize the user-editable VM options for multiple launchers and to have
.vmoptions files in a location that can be edited by the user if the installation directory is
not writable. You can use environment variables to find a suitable directory, for example
-include-options ${APPDATA}\My Application\my.vmoptions-include-options ${HOME}/.myApp/my.vmoptions.vmoptions file is located,
use an installer variable:
-include-options ${installer:vmOptionsTargetDirectory}/my.vmoptionsvmOptionsTargetDirectory installer variable to a suitable path with a "Set a variable" action.
In addition to the VM parameters you can also modify the classpath in the .vmoptions files with the
following options:
- -classpath [classpath]
Replace the classpath of the generated launcher. - -classpath/a [classpath]
Append to the classpath of the generated launcher. - -classpath/p [classpath]
Prepend to the classpath of the generated launcher.
For GUI launchers on macOS, the VM options are stored in a file called Info.plist inside the
application bundle. The "Add VM options" action described below handles these platform-specific differences.
Environment variables
You can use environment variables in the VM parameters and the .vmoptions file with the
syntax ${variableName} where you replace variableName with the desired
environment variable.
This environment variable syntax also works in the arguments text field and the classpath configuration.
"Add VM options" action
In order to handle VM parameter additions in the installer in a cross-platform fashion,
install4j includes an "Add VM options" action
that adds VM parameters to the .vmoptions
file on Microsoft Windows and Unix and modifies the Info.plist file on macOS.
The Add VM options action creates a .vmoptions file if necessary or adds your options to the
.vmoptions file if it already exists. However, a number of VM parameters can only
occur once so the action replaces the following parameters if they already exist:
- -Xmx
- -Xms
- -Xss
- -Xloggc
- -Xbootclasspath
- -verbose
- -ea / -enableassertions
- -da / -disableassertions
- -splash
as well as the install4j-specific classpath modification options (see above).
To set an -Xmx value that depends on the total memory of the target system, you can use
a "Set a variable action" to calculate the numeric part of the -Xmx value using the utility method
SystemInfo.getPhysicalMemory() and use that variable in the "VM options" property
of the "Add VM options" action. For example, in order to use 50% of the total memory for the maximum heap size,
you do the following after the "Install files" action:
-
Add a "Set a variable" action with variable name "xmx" and expression
"-Xmx" + Math.round(SystemInfo.getPhysicalMemory() * 0.5 / 1024 / 1024) + "m"
- Add a "Add VM options" action with VM options
"${installer:xmx}".