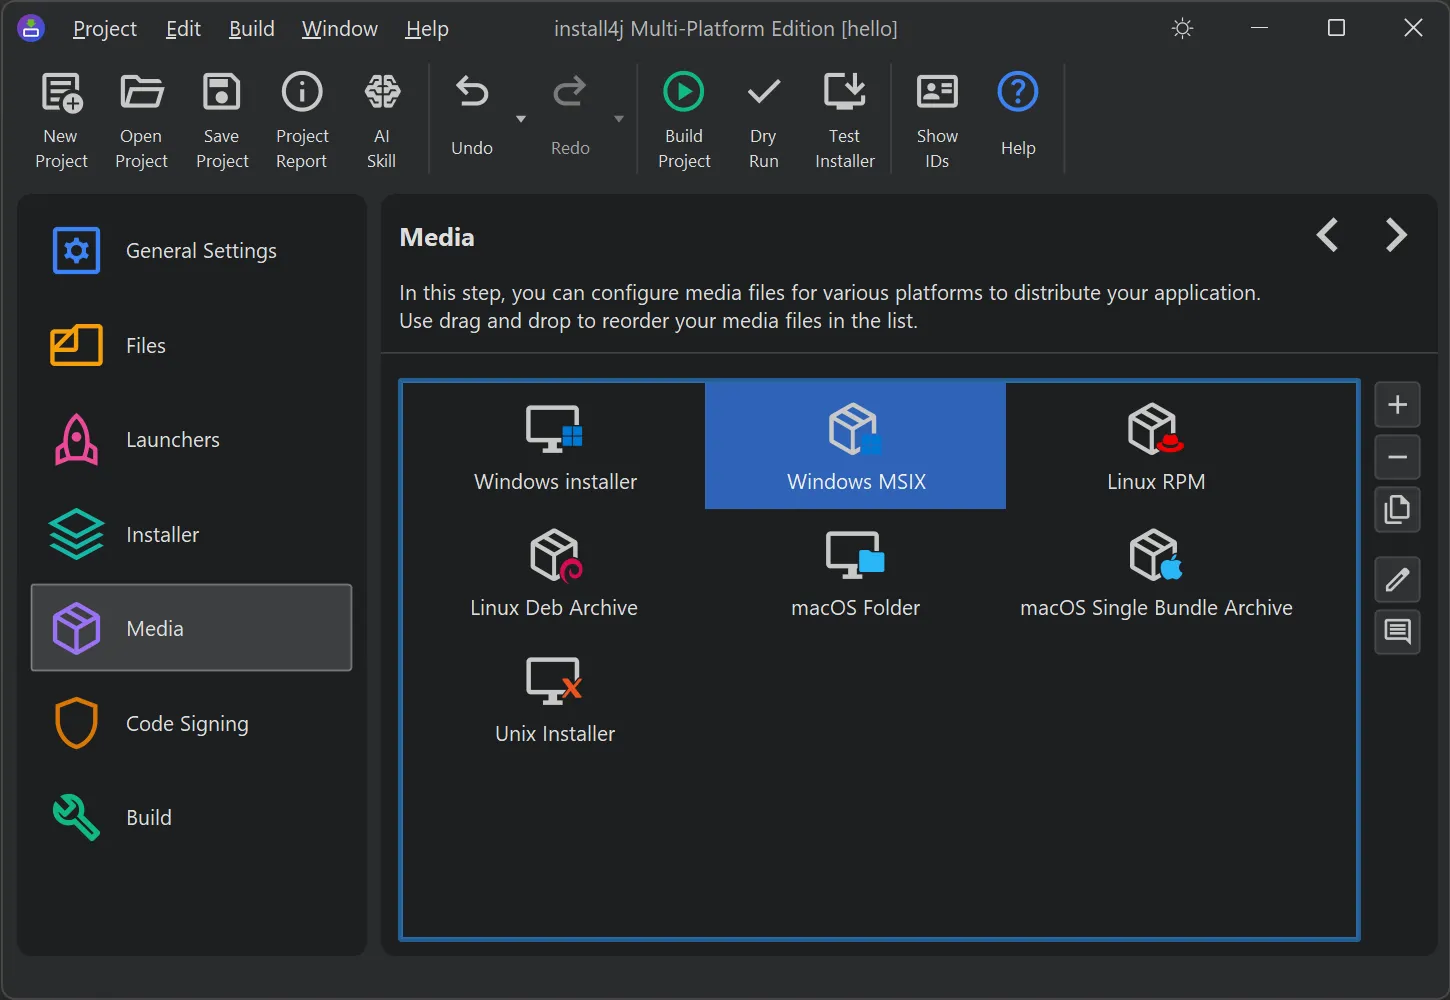
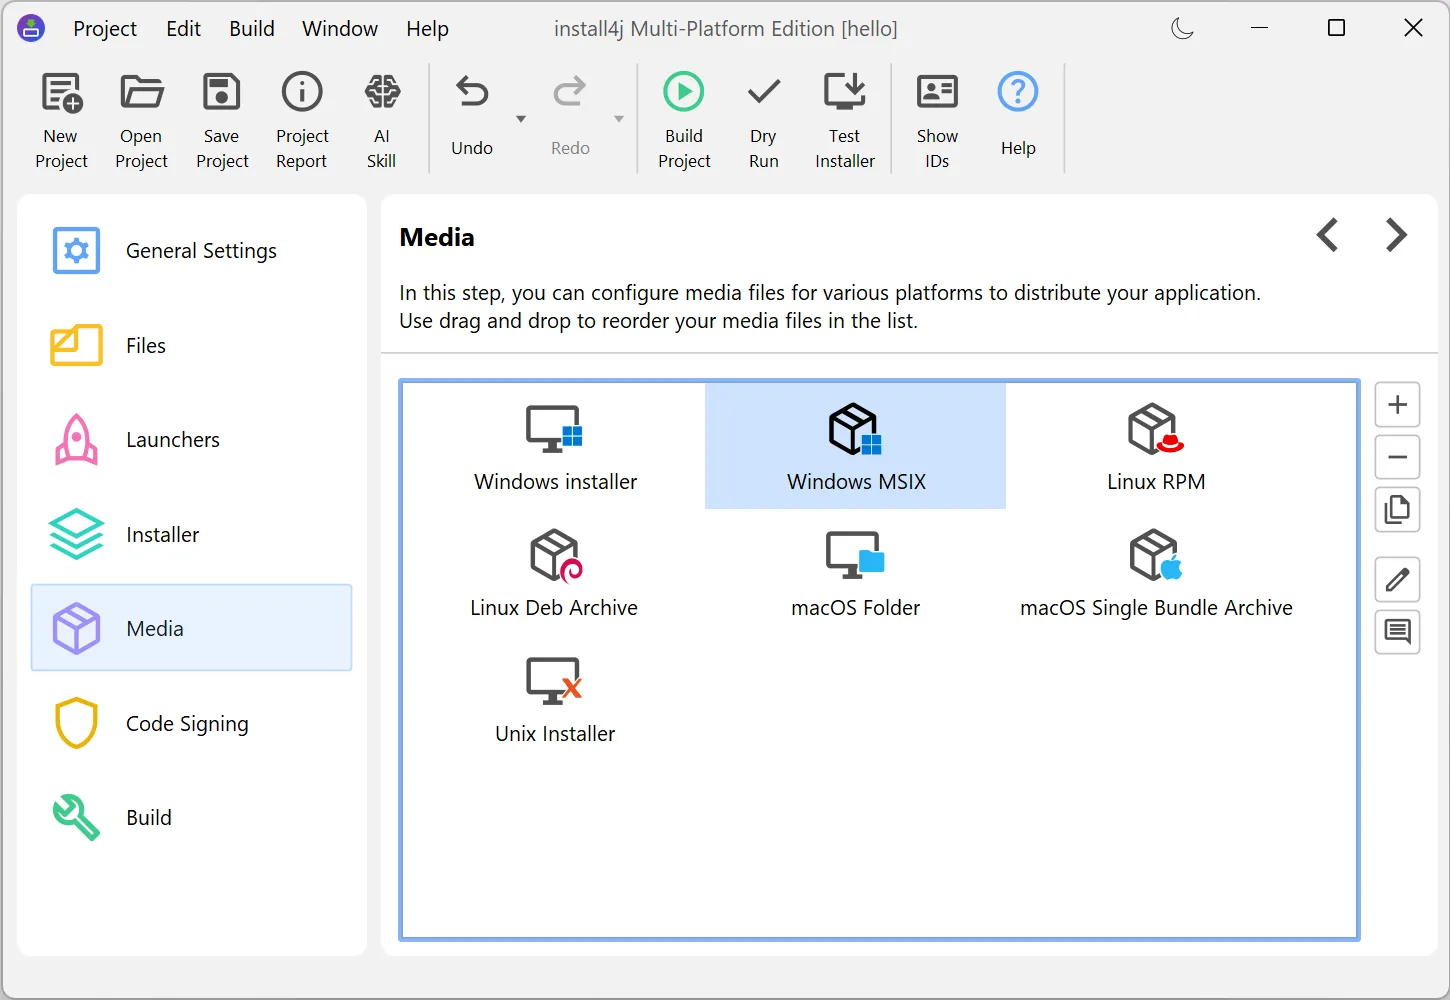
install4j 13 can now build Windows MSIX media files.
MSIX is the modern packaging format for Windows applications. It is also the native package format for the Microsoft Store and
integrates with managed deployment tools such as Microsoft Intune. An MSIX package is installed and uninstalled by
Windows itself in a fully reversible way, and it can be installed by a standard user without administrator rights.
MSIX is completely separate from MSI. For MSI, install4j only generates a wrapper around the installer generated by install4j.
This is because install4j concepts such as screens, actions, and scripts cannot be mapped seamlessly into the MSI model.
MSIX, on the other hand, is declarative, so concepts like services, file associations, and startup tasks are translated directly into
manifest entries.
An MSIX package is installed by double-clicking the .msix file or by running Add-AppxPackage in PowerShell,
and no install4j installer wizard runs at install time.
Note that Code signing is mandatory for distribution of this media file type, because unsigned MSIX packages can only be
installed in Windows' development mode.
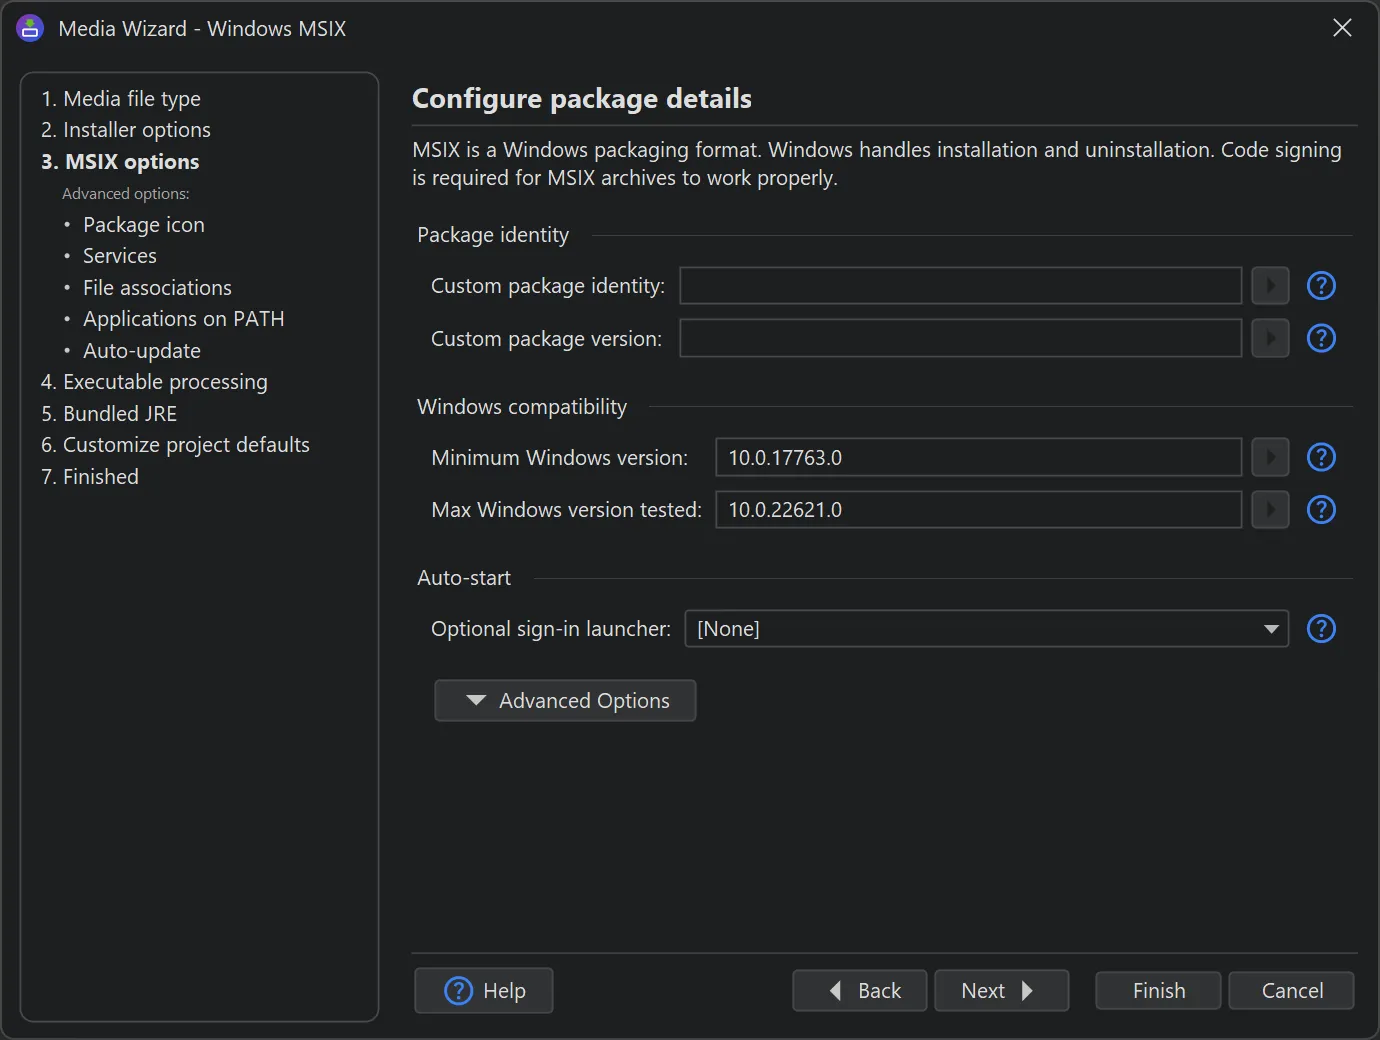
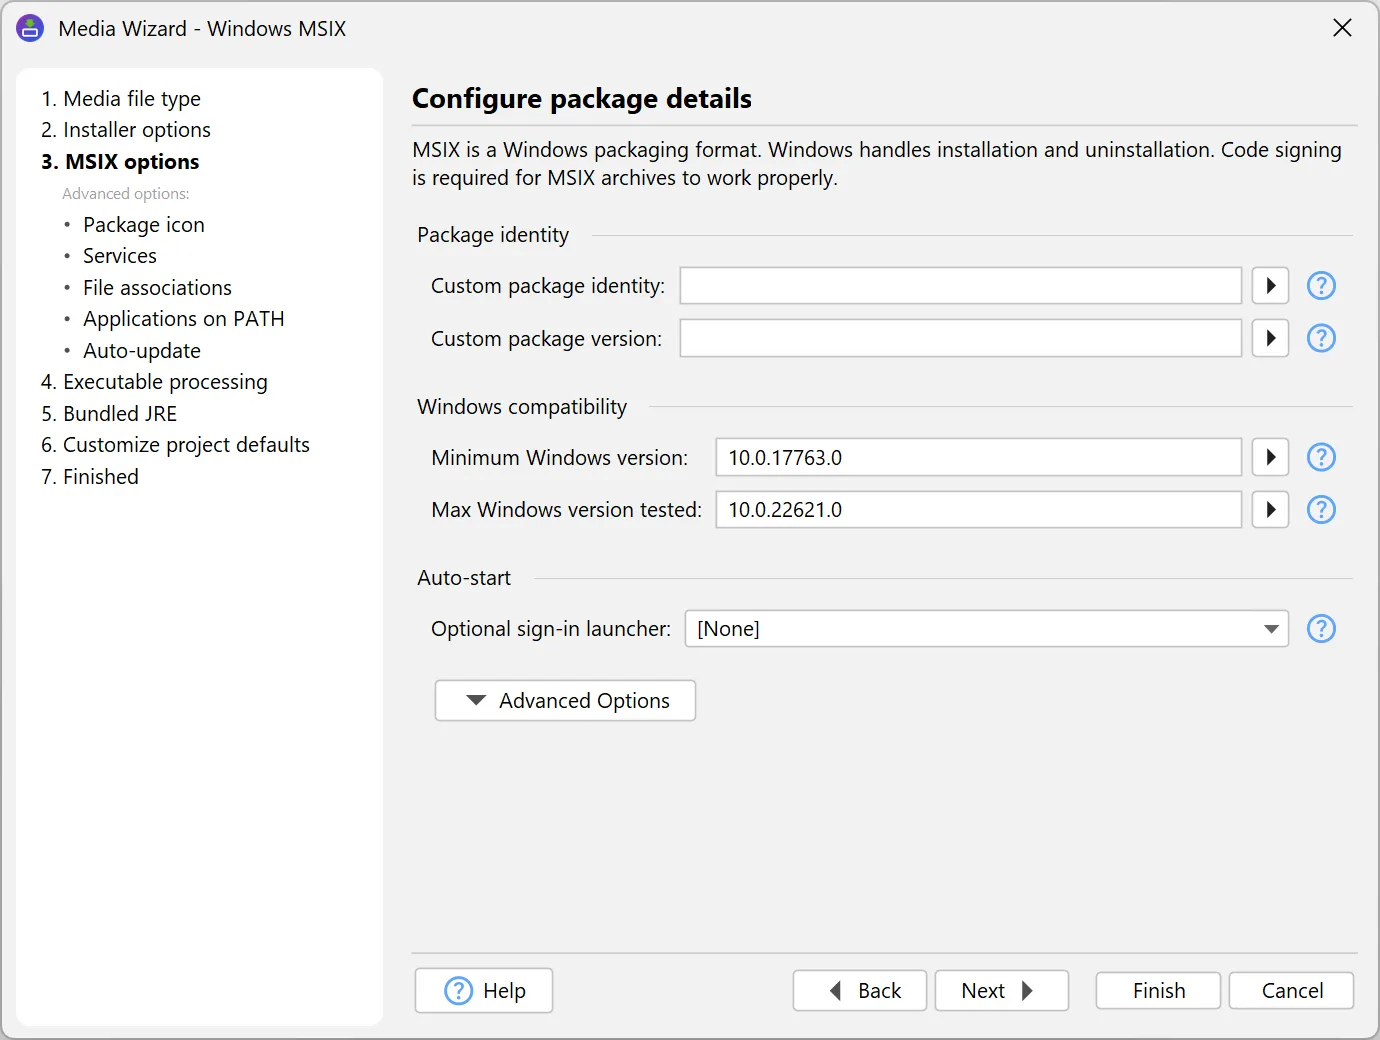
All MSIX-specific settings are configured in dedicated sub-steps of the media file wizard. On the "MSIX options"
step, the package identity name, the package version, and the minimum and maximum tested Windows versions
are set. You can also set a launcher as a sign-in launcher that runs automatically when the user logs on
and that the user can later disable in the Windows "Startup apps" settings.
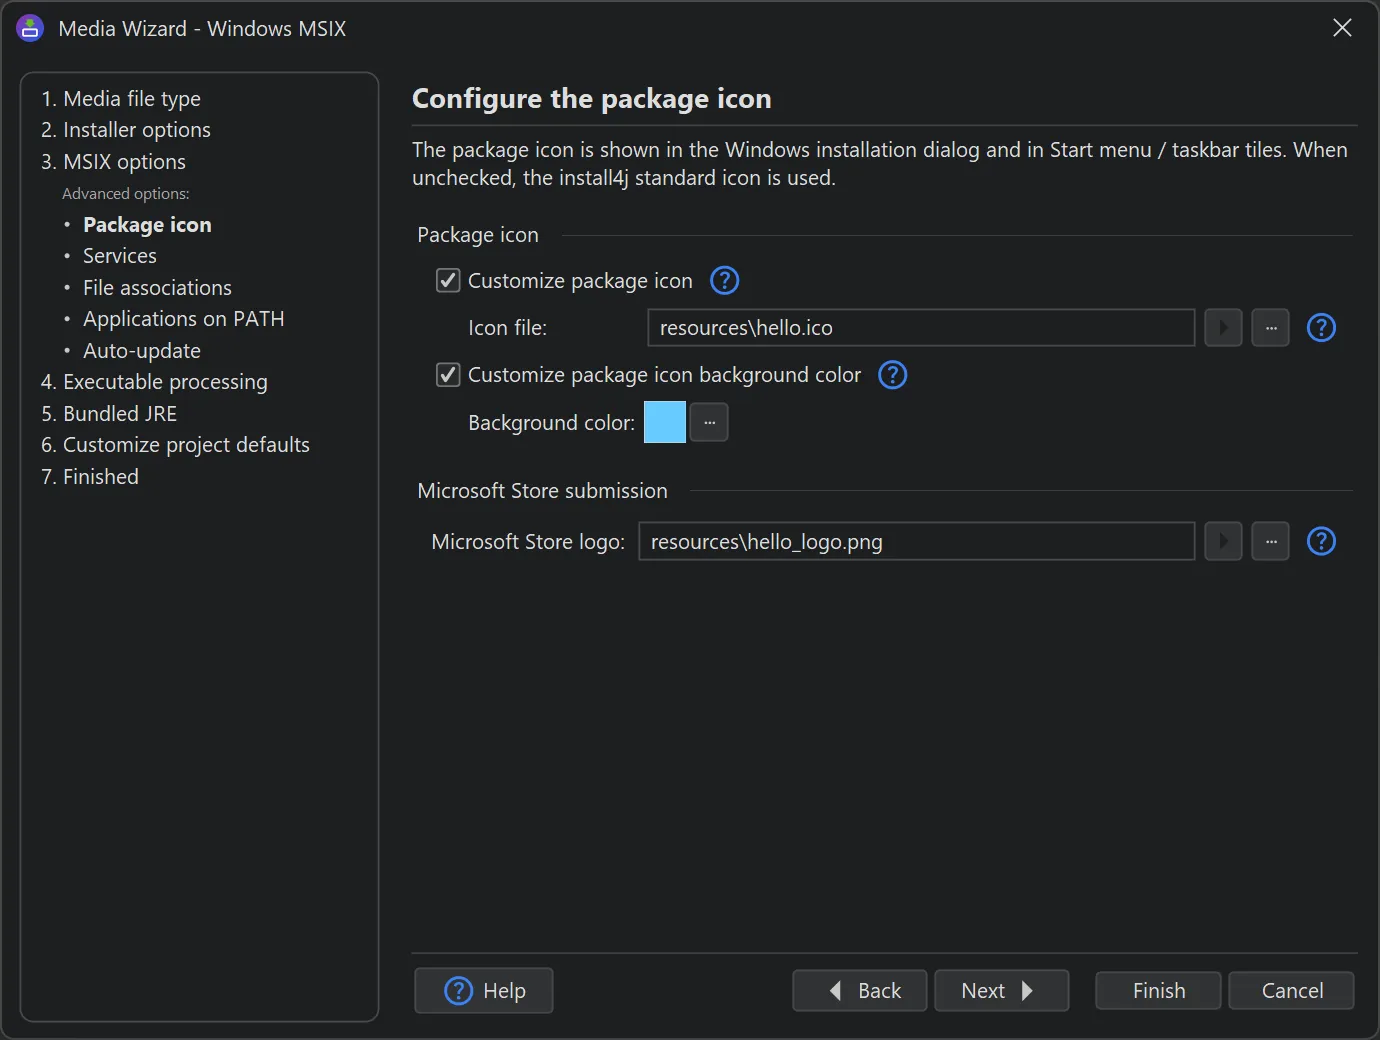
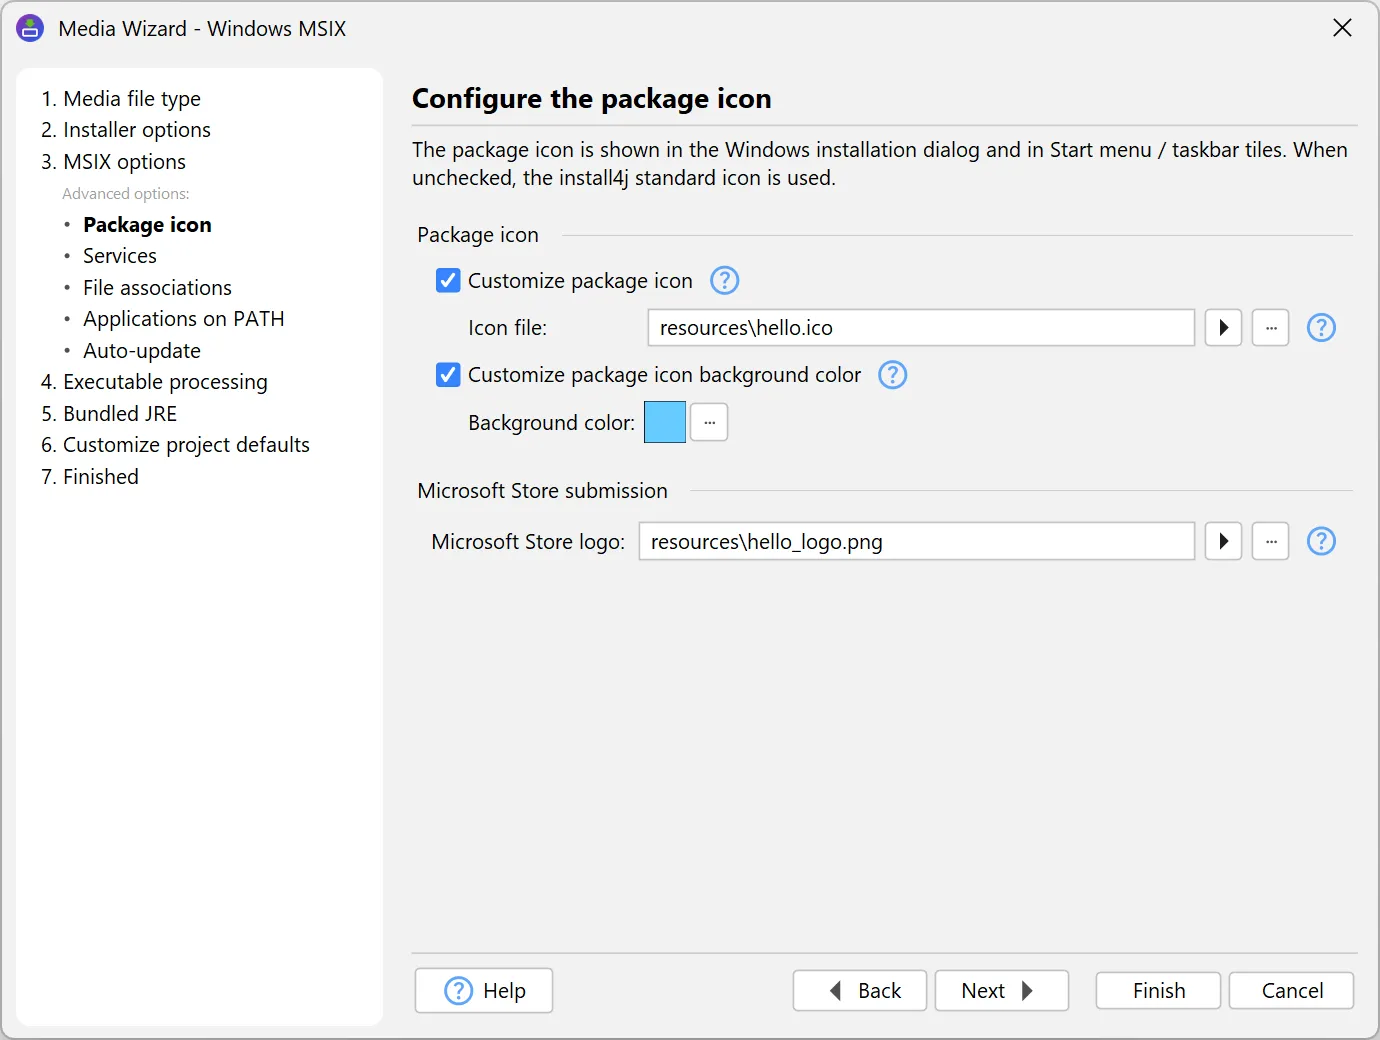
The package icon is customized on the "Package icon" sub-step. It is shown in the Windows installation
dialog. A background color can be set for it so that icons with transparency are given an opaque tile. For the start menu
and the task bar, the icons configured in the launcher wizard are used.
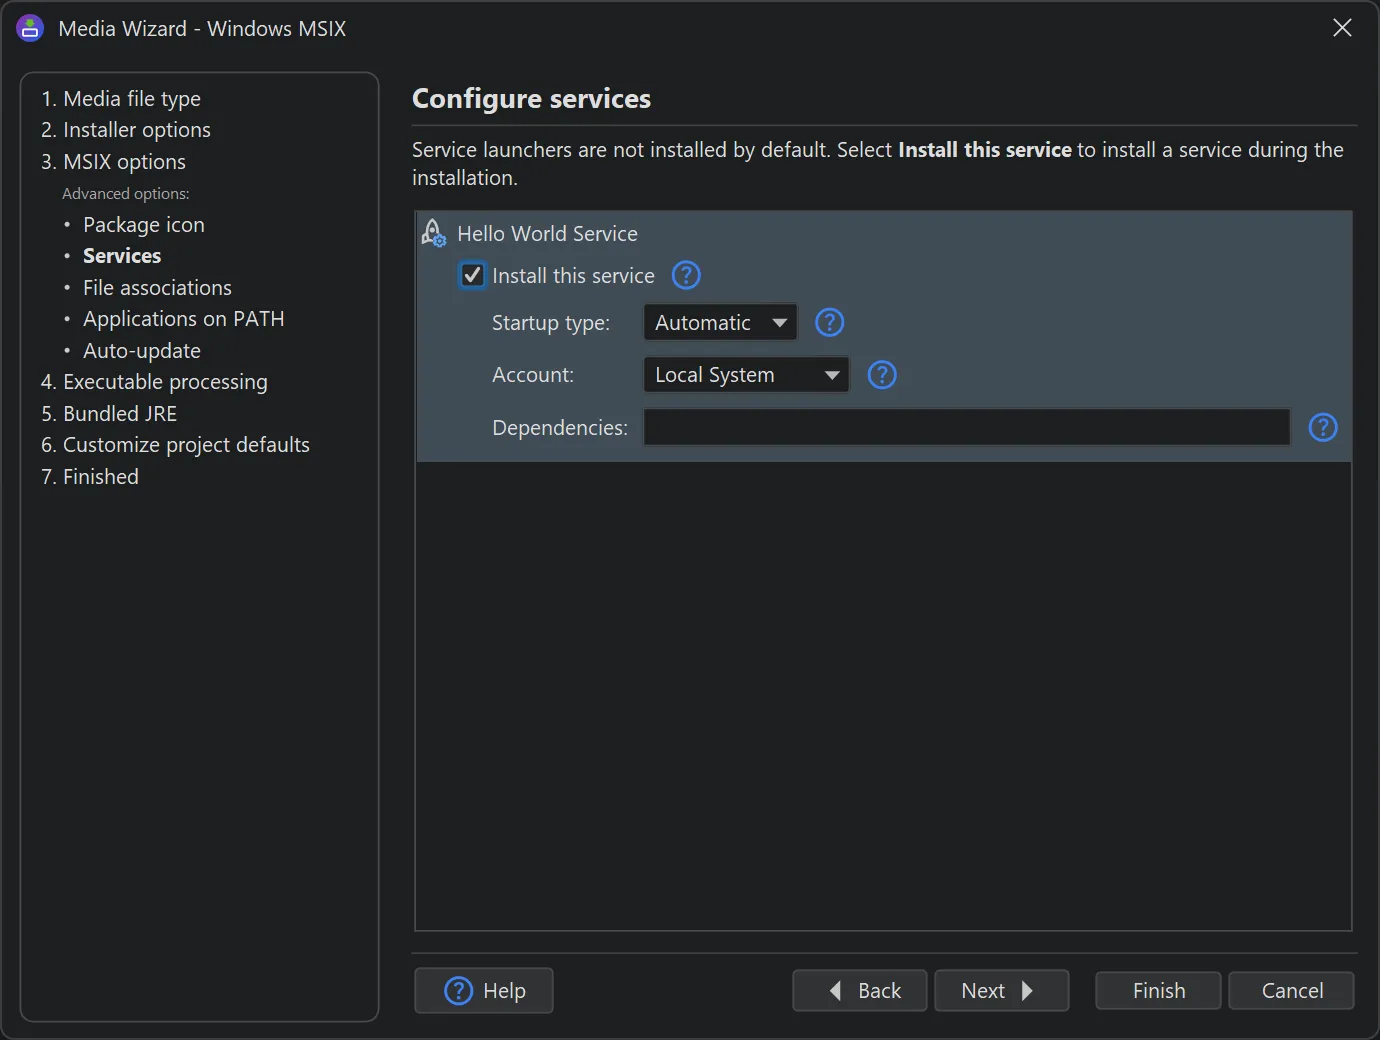
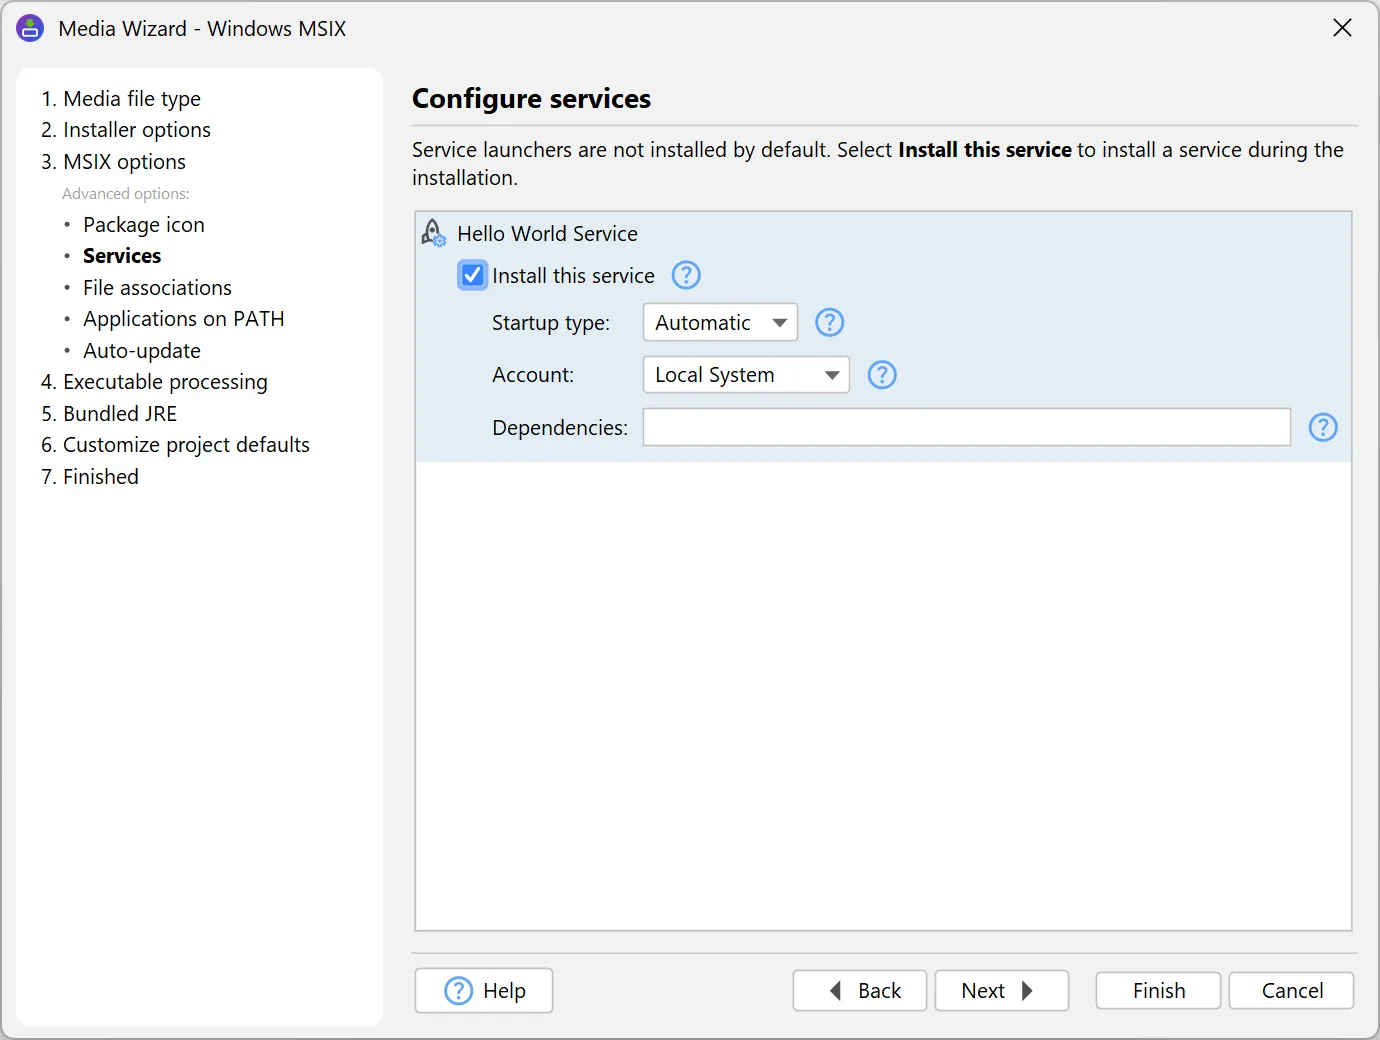
Services are chosen from the generated service launchers and are registered as Windows services through the manifest. The startup
type and the service account are configured per launcher on the "Services" sub-step.
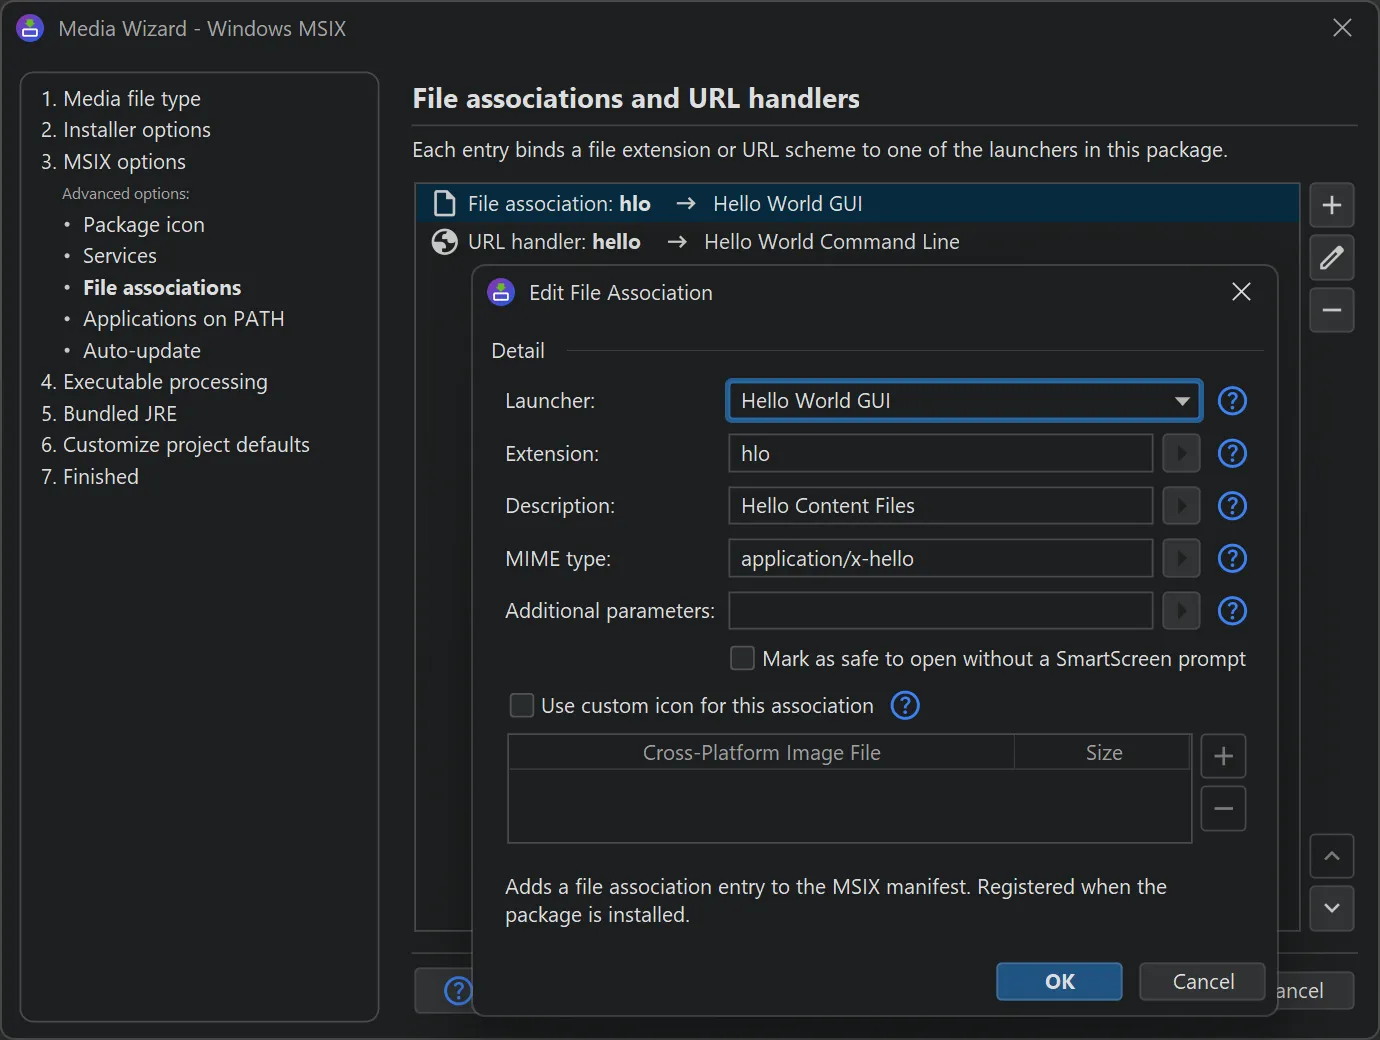
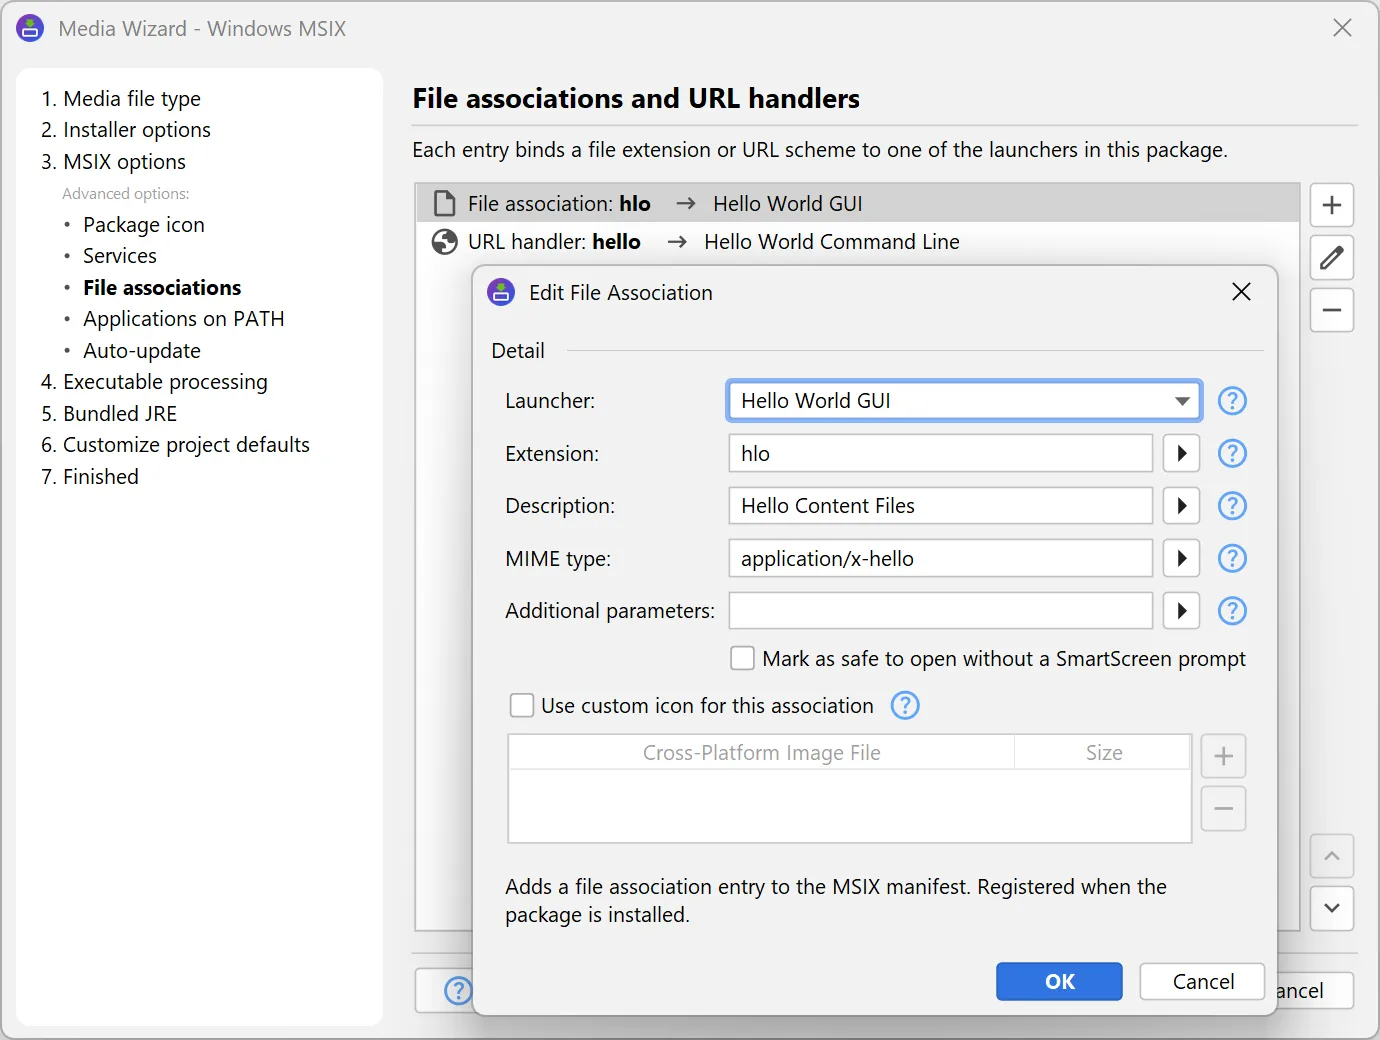
File associations bind one or more file extensions to a launcher, so that double-clicking such a file opens your
application. For each association, a description, an optional MIME type, and a custom icon can be configured.
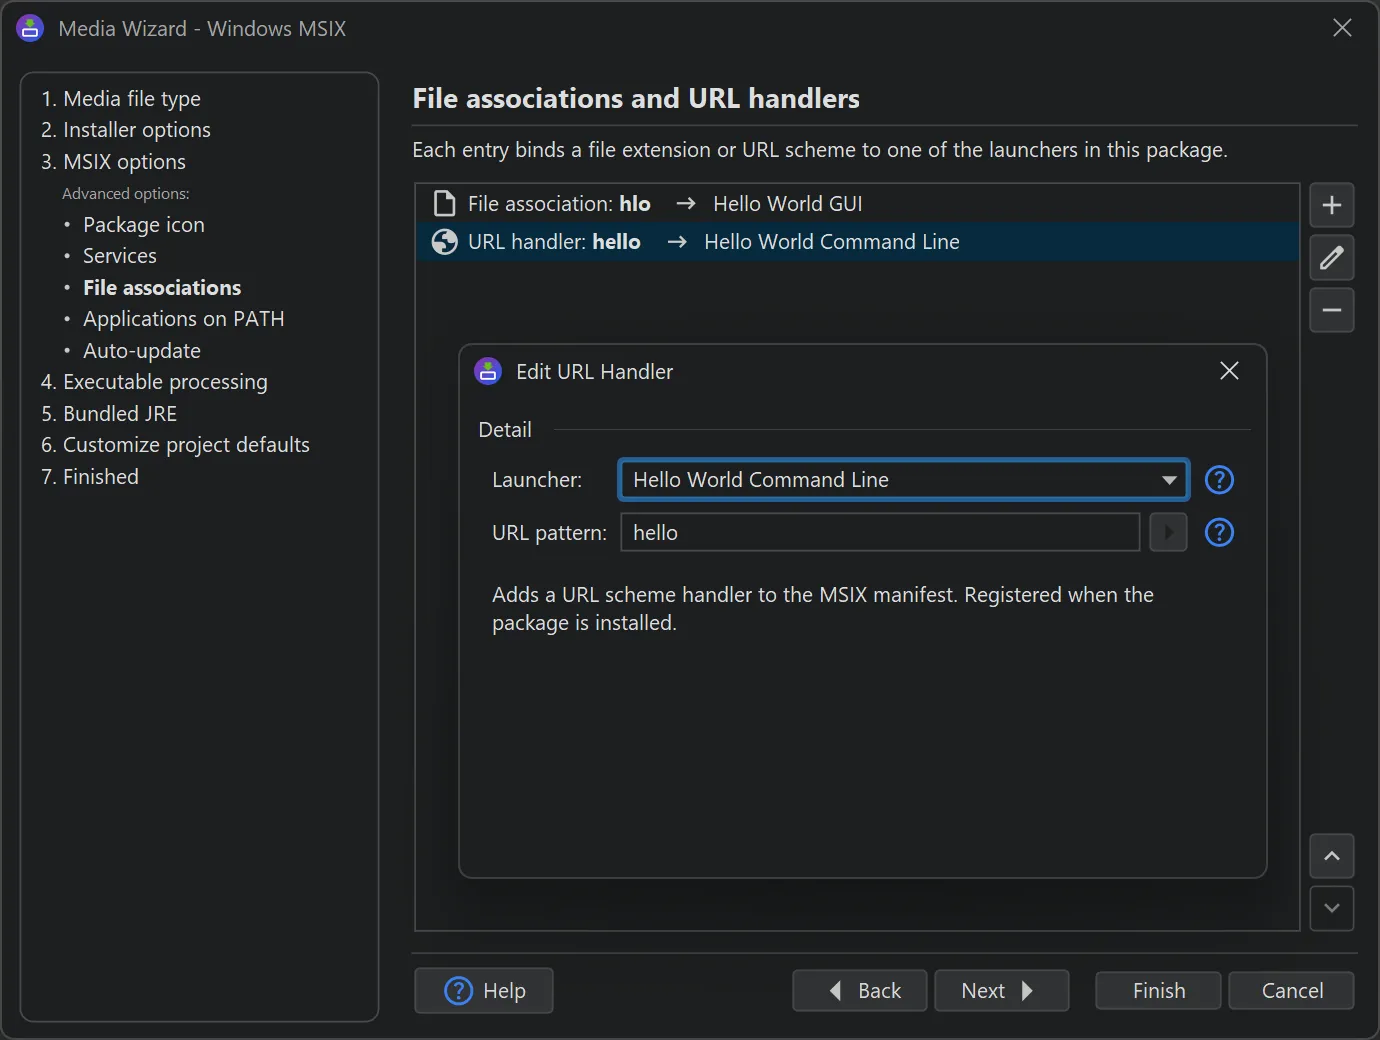
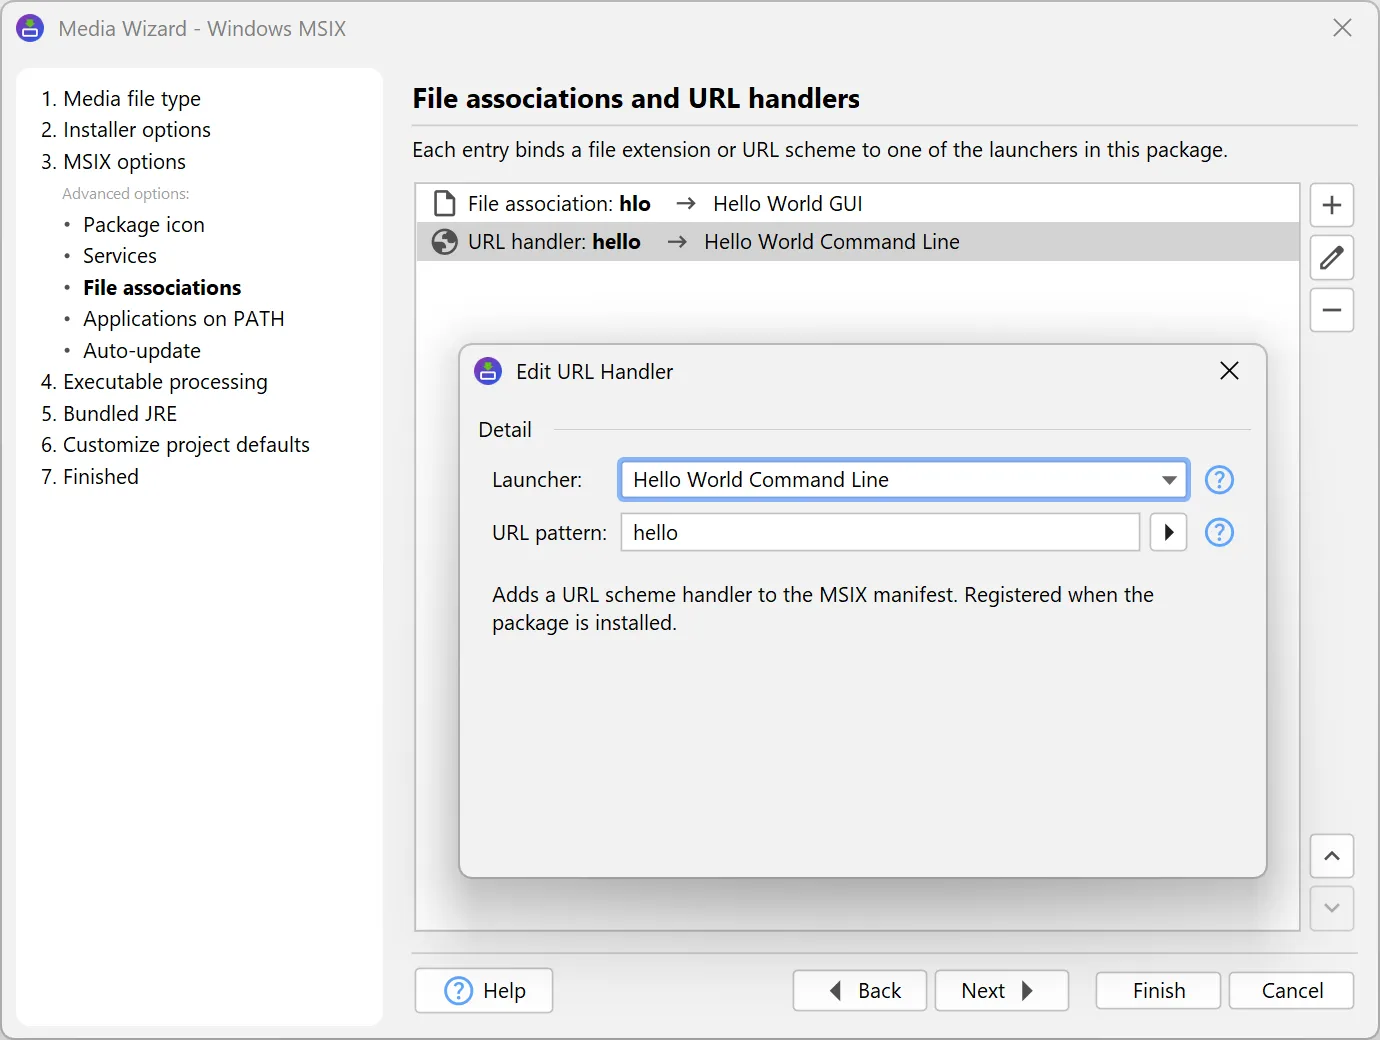
URL scheme handlers are declared in the same way, so that a custom scheme such as myapp:// is routed
to the launcher. Both are set up on the "File associations and URL handlers" sub-step.
App URI handlers let a launcher handle ordinary https:// links for a specific
host. When a matching link is opened, Windows can route it to your application instead of the browser. Because a site's
links cannot be claimed without its consent, the host must publish the generated windows-app-web-link.json file under
/.well-known/ that lists your package.
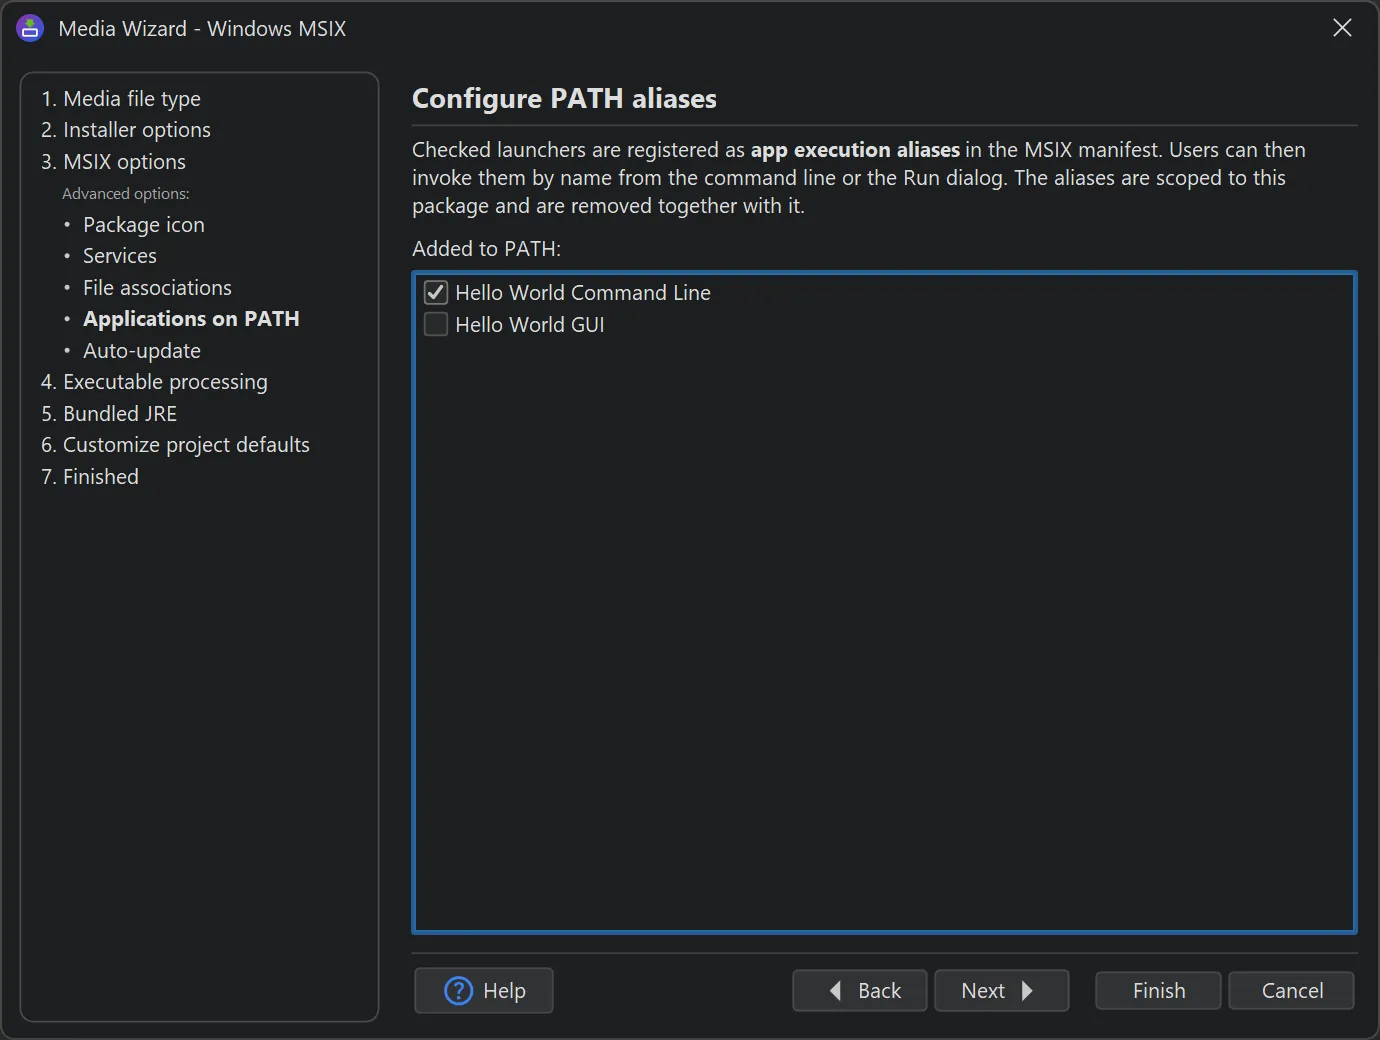
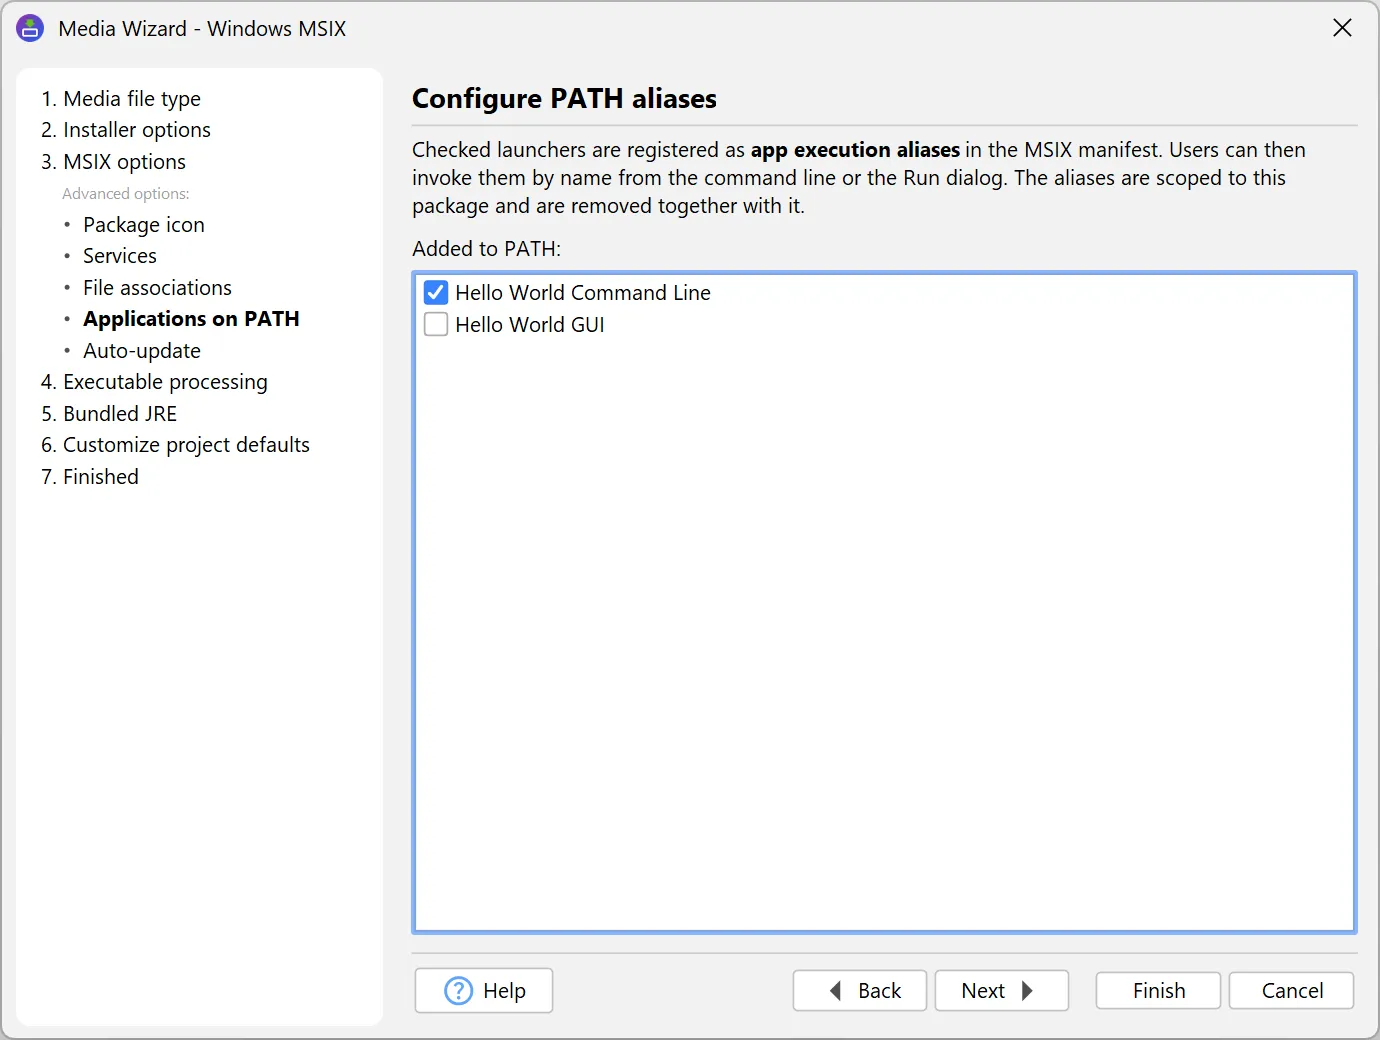
App execution aliases expose selected launchers under their executable name on the user's PATH, so that
they can be invoked by name from a command prompt or the Run dialog. The aliases are scoped to the package and are removed
together with it. They are selected on the "Applications on PATH" sub-step.
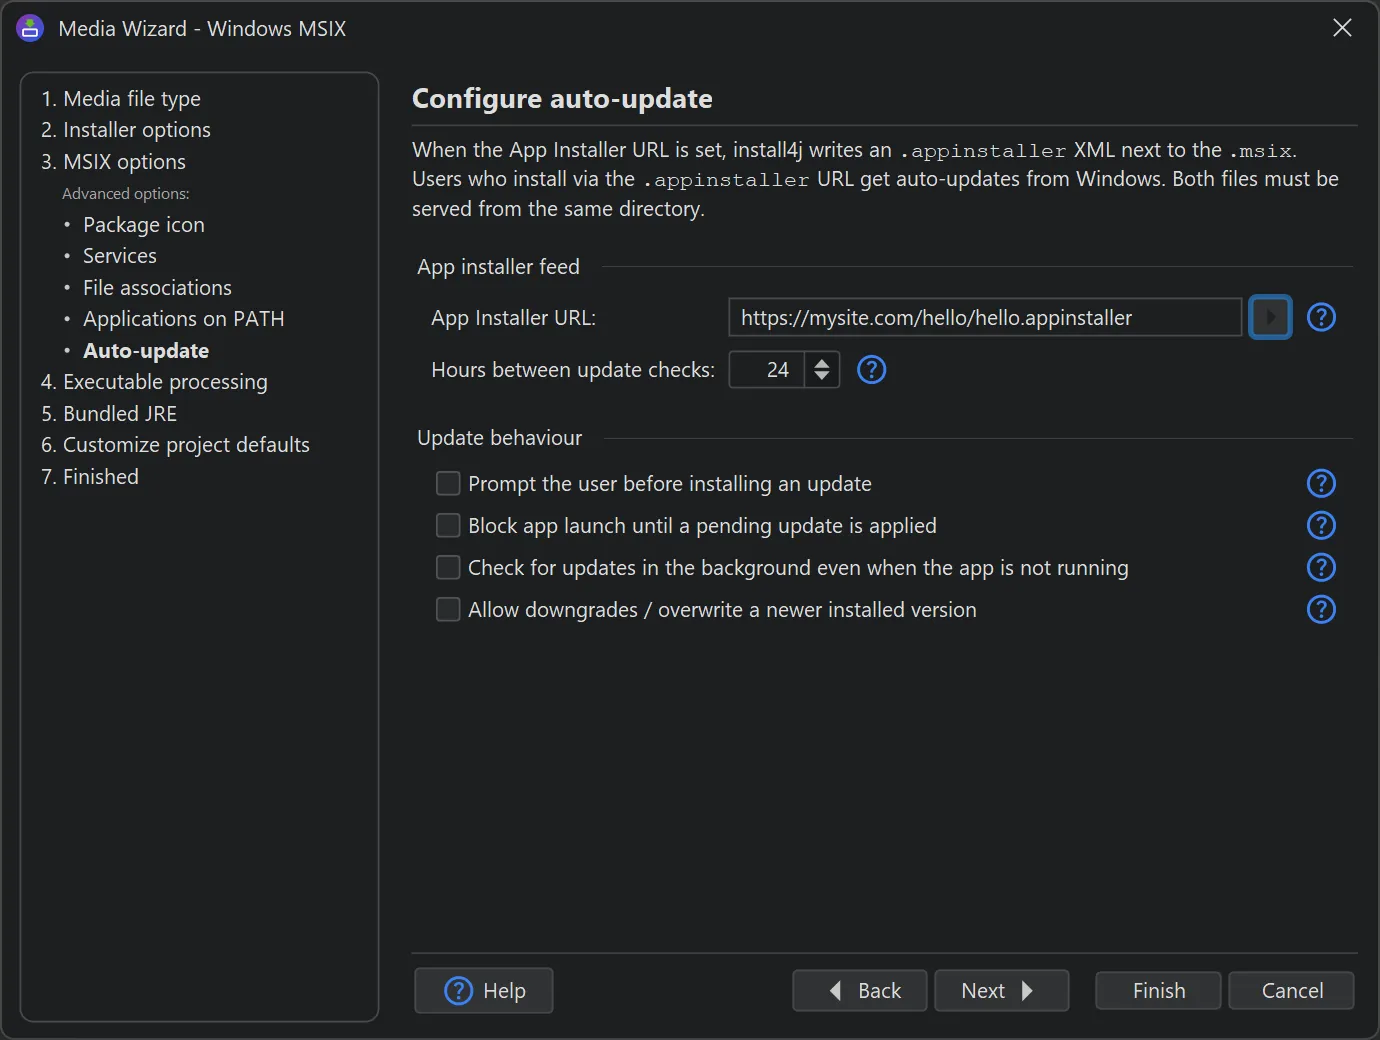
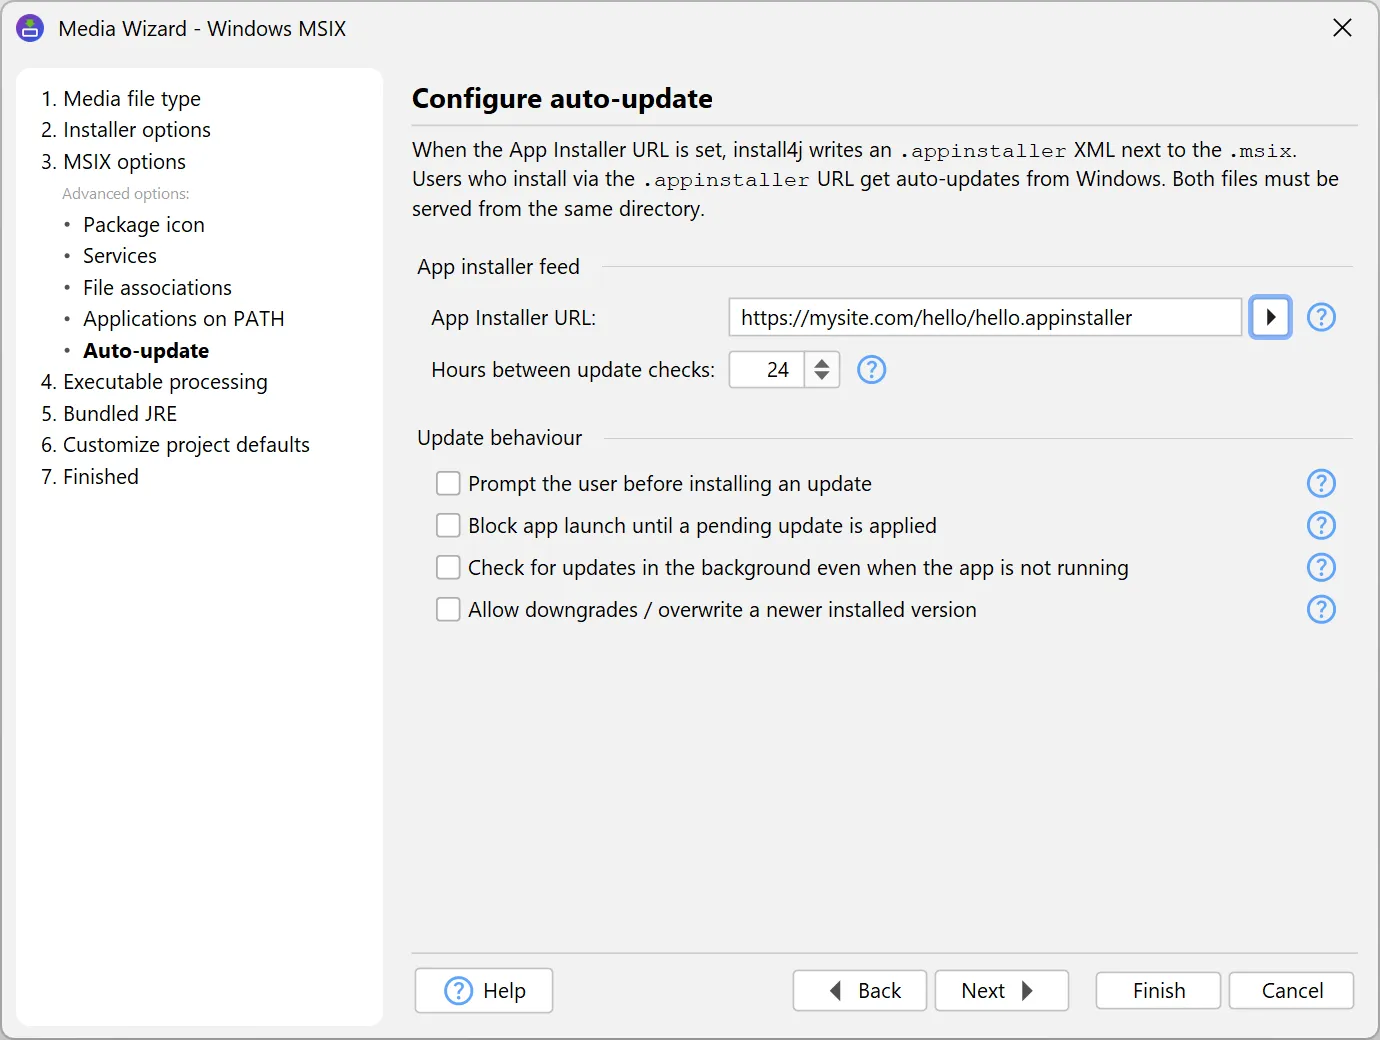
For auto-updates, MSIX packages rely on the App Installer mechanism built into Windows rather than on the install4j
update architecture. The required .appinstaller file is generated by install4j, and the hosted URL is then checked
periodically by Windows so that new package versions are installed in the background. The hosting URL and the update
behavior, such as how often to check and whether to prompt the user, are configured on the "Auto-update" sub-step.
All languages configured for the project are declared in the manifest automatically.
Software development is quickly becoming agentic, with much of the day-to-day work now driven through AI coding
assistants. install4j 13 brings installer authoring into that workflow. It ships with an AI agent skill that lets a
coding assistant read, edit, and create install4j project files, so a change can be described in natural language and
applied directly to the project. This lowers the barrier to building and maintaining an installer, and the project file
becomes just another part of the codebase that the agent works on.
The skill is a self-contained knowledge package. It bundles the project file schema, a catalog of every available bean class
(screens, actions, form components, screen and widget styles), runnable sample projects, the install4j API, and the complete
documentation, all in an AI-friendly format together with instructions for common workflows. With it, the assistant can verify
against accurate information and does not have to guess.
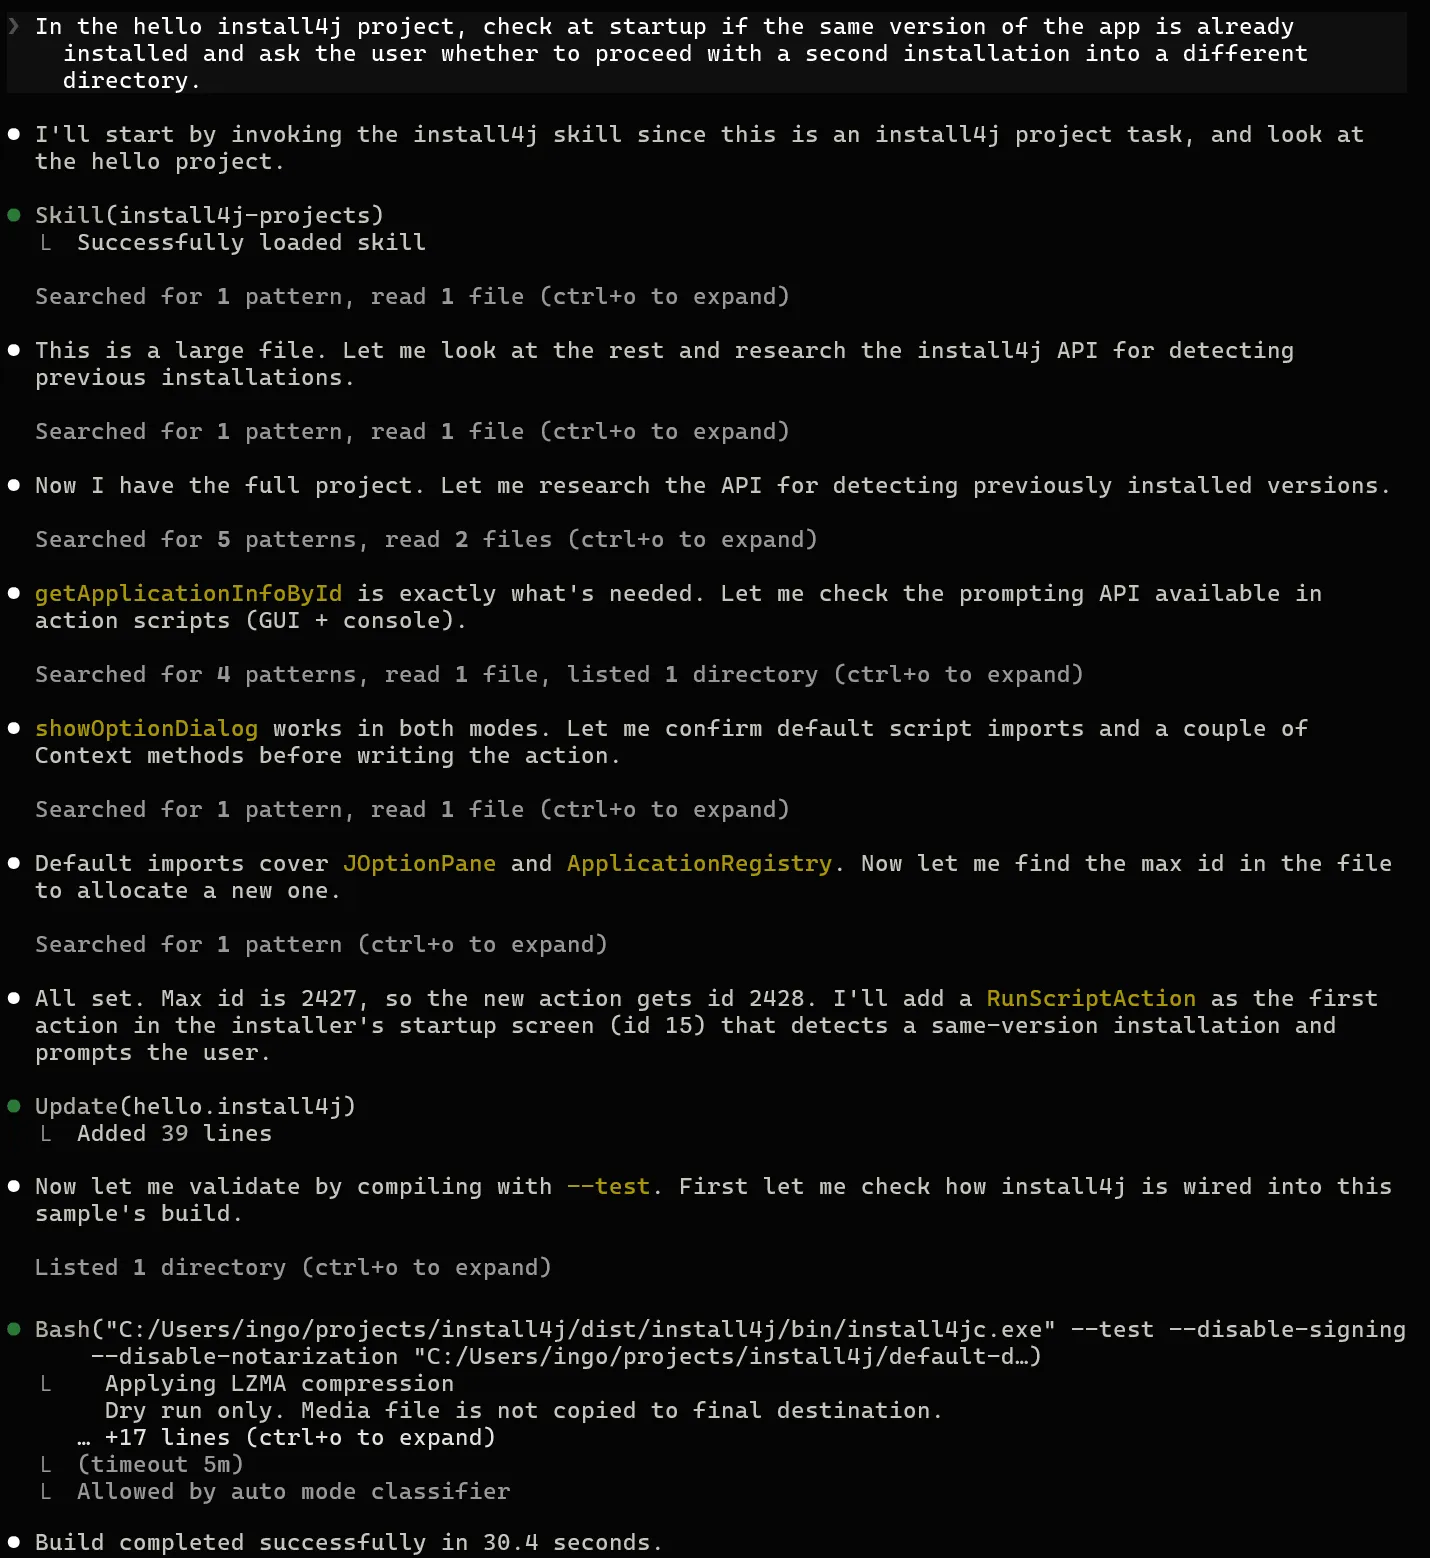
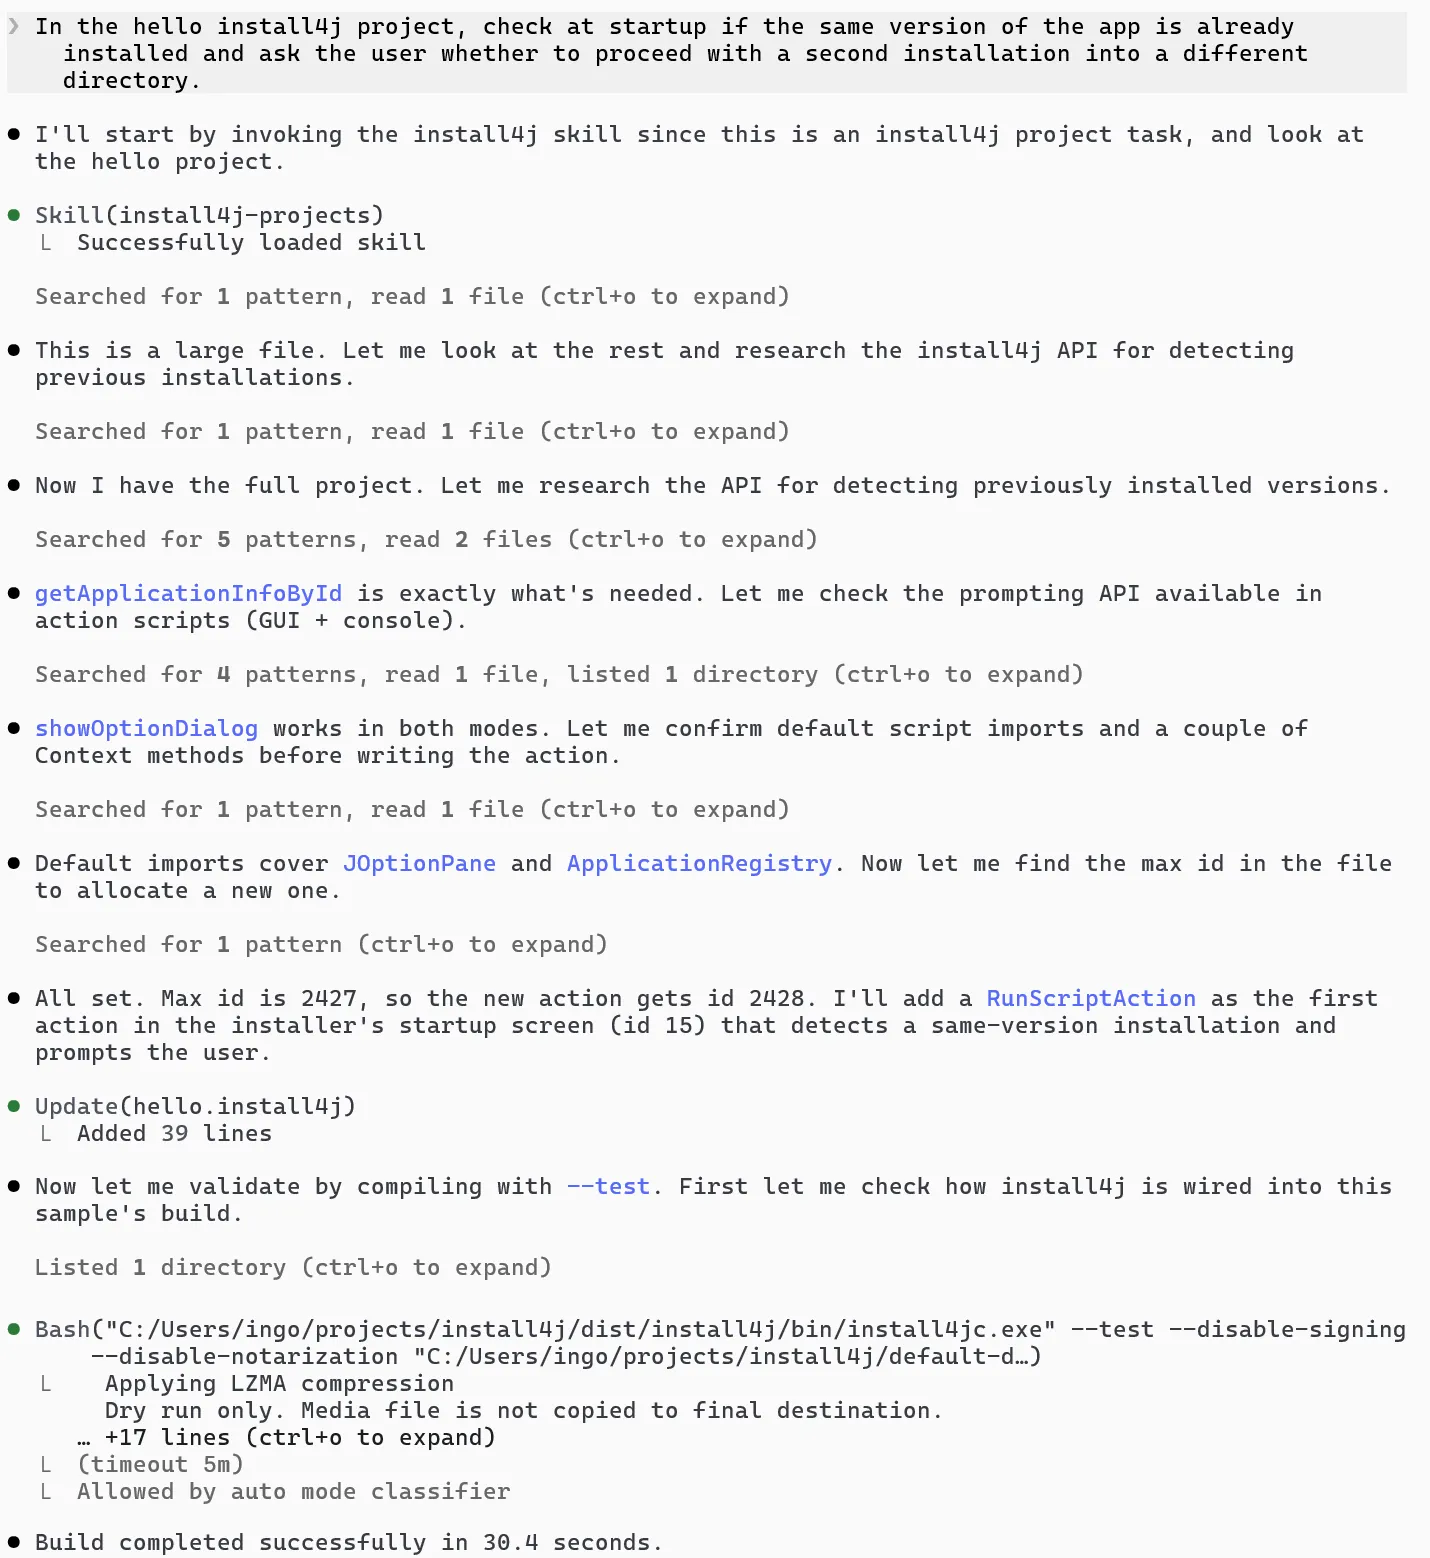
A compatible assistant loads the skill on its own whenever you give it a task related to install4j. For example, when it
is asked to add a startup check to the hello sample that detects an already installed version and prompts before a second
installation, the assistant locates the right registry API, inserts the new action into the project file, and confirms
that the project still compiles.
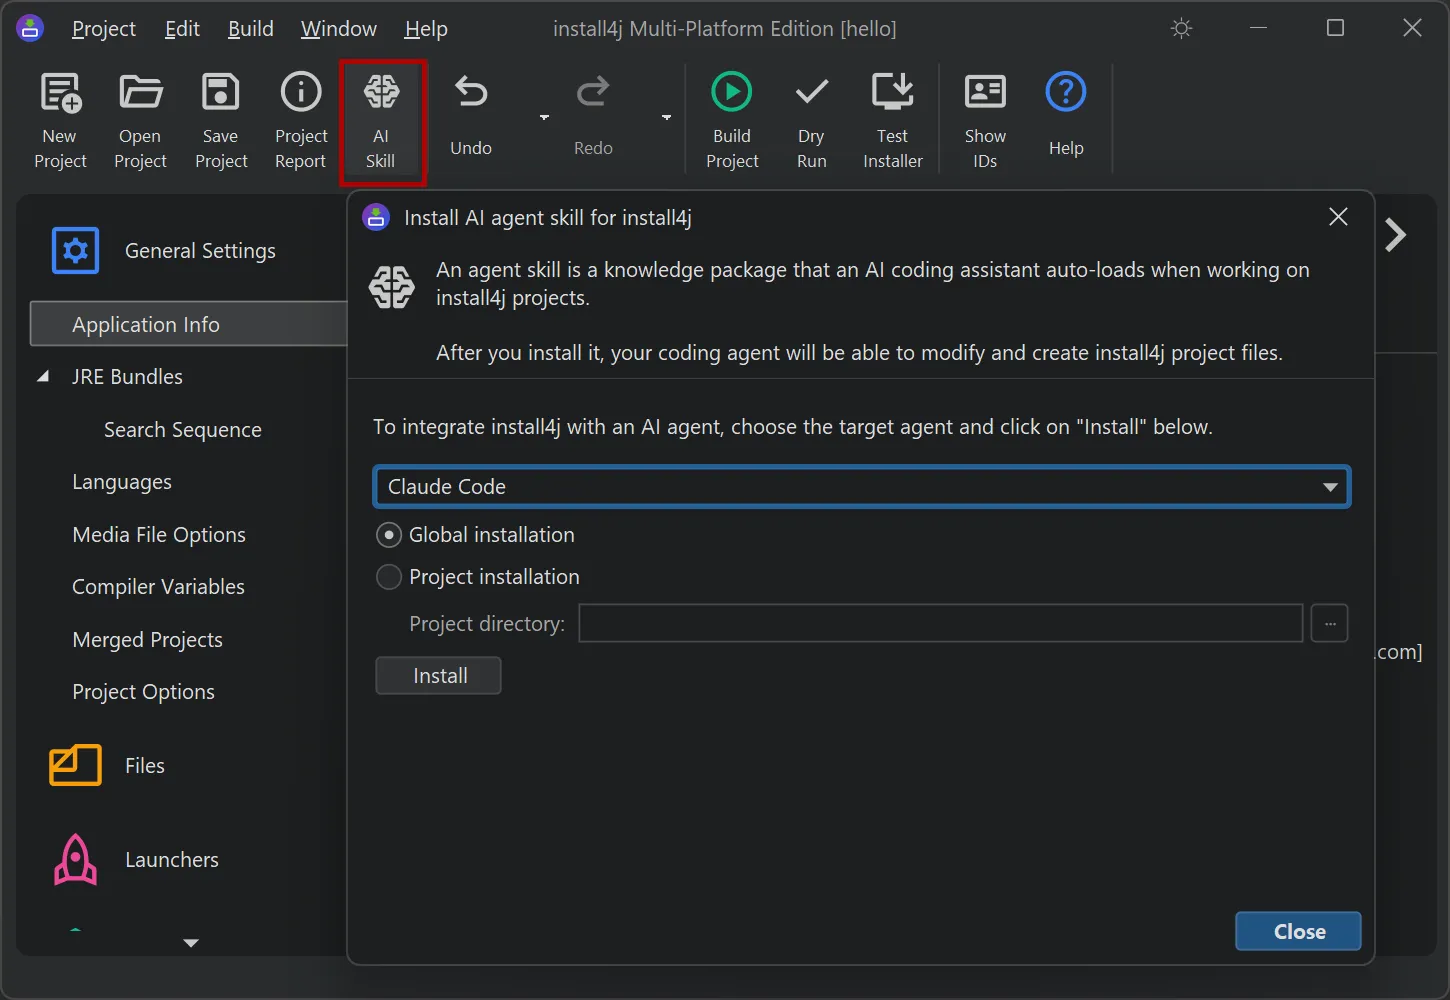
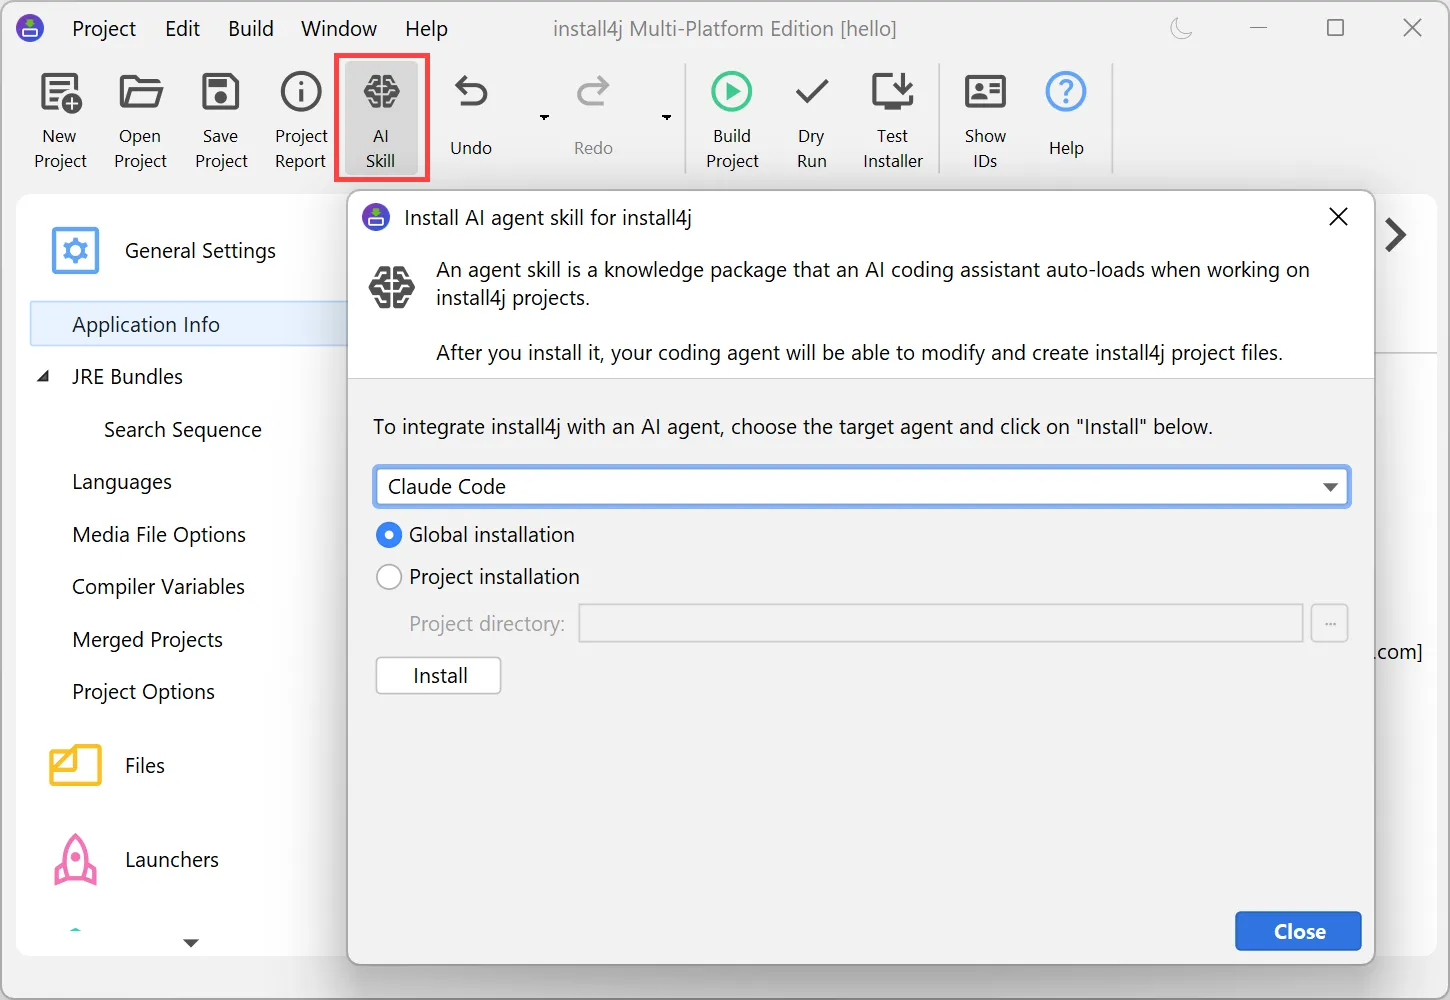
To install the skill, click the "Install AI Skill" button in the toolbar. From the dialog, it can be written into
the skills directory of your AI agent. Supported agents include Claude Code, Claude Desktop, Cursor, Codex CLI, Gemini
CLI, OpenCode, and Junie.
It can be installed globally, so it is available in every project on your machine, or
per project, where it is only available when the agent runs from that project. The skill is generated from your exact
install4j version, so its schema, bean catalog, and samples always match the compiler in your installation.
install4j 13 introduces an XML schema for install4j project files. The schema (install4j.xsd) is shipped in
the resource directory of your install4j installation and documents every element, attribute, and enumeration
value of the .install4j file format with inline descriptions. It is comprehensive, covering more than 230
elements, 450 attributes, and 150 enumeration values, with around 600 documentation entries describing them.
When you associate the schema with your .install4j files in an XML editor, you get auto-completion, inline
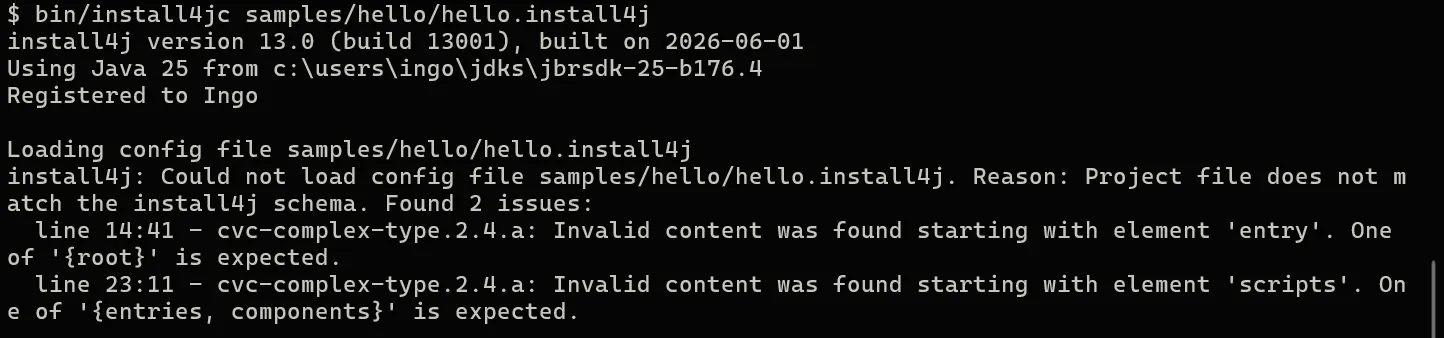
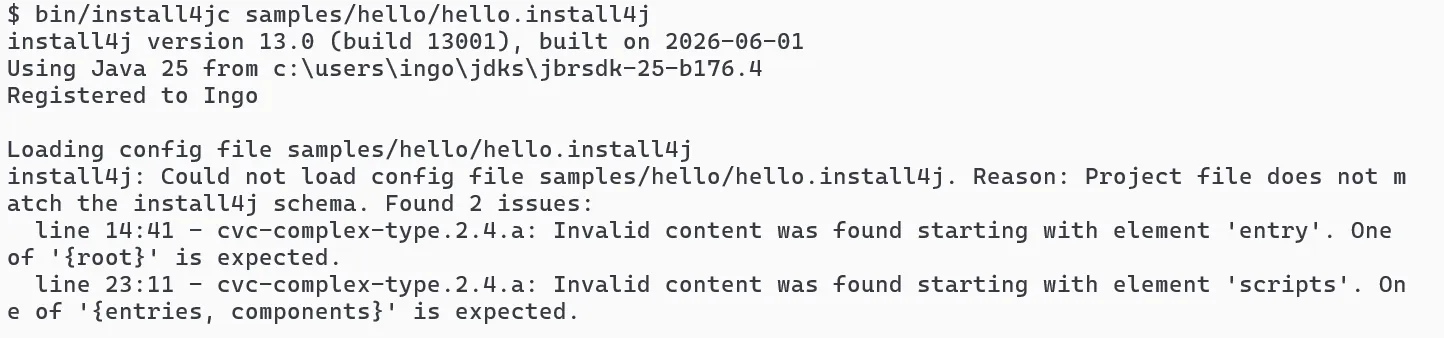
documentation, and validation as you edit. In addition, the project file is now validated against the schema
whenever you compile from the command line, so structural errors are caught early with precise messages.
A new install4j Test API lets you write automated, end-to-end tests that drive an installer UI in GUI mode from
inside a test JVM. The API is framework-agnostic, so you can use it from JUnit, TestNG, Spock, or a plain main
method.
A session is started with one of the session builders: InstallerSessionBuilder.forMediaFile(...) to test
a generated installer, UninstallerSessionBuilder.forInstallation(...) to test an uninstaller, or
InstallerApplicationSessionBuilder.forInstallation(...) for custom installer applications such as update
downloaders. Builder options include a timeout, additional command line arguments, system properties, a working directory,
a log file, and a debug mode that runs the installer in process for easy breakpoint debugging.
Within a session you wait for screens by id, navigate with the Next, Previous, Cancel, and Finish buttons, interact with
strongly typed handles for form components and dialogs, and finally verify installer variables, the installation directory,
the log, and the exit code:
InstallerSession session = InstallerSessionBuilder
    .forMediaFile(new File("media/myApp_windows-x64.exe"))
    .installationDirectory(targetDirectory)
    .start();

session.waitForScreenId("welcome").nextScreen();

// Accept the license, then fill in a custom form screen
session.currentScreen().checkBox("acceptCheckBox").setSelected(true);
session.currentScreen().nextScreen();
session.currentScreen().textField("port").setText("8443");
session.currentScreen().nextScreen();

// Modal dialogs can be handled when they appear
session.alert().clickYes();

session.currentScreen().finish();

// Verify the outcome after the installer has exited
int exitCode = session.awaitExit(Duration.ofMinutes(2));
assertEquals(0, exitCode);
For Kotlin users, extension functions are included to make the API more idiomatic.
A useSession { } block starts the session and closes it automatically,
helpers like onScreen and onAlert run a code block on a screen or dialog, and a
session["name"] accessor reads installer variables:
InstallerSessionBuilder
    .forMediaFile(File("media/myApp_windows-x64.exe"))
    .useSession {
        onScreen("welcome") { nextScreen() }
        onCurrentScreen {
            checkBox("acceptCheckBox").setSelected(true)
            nextScreen()
        }
        onAlert { clickYes() }
        onCurrentScreen { finish() }
        awaitExit()
    }
The Test API is published to Maven Central as com.install4j:install4j-test and is also bundled as
install4j-test.jar in the resource directory of your installation.
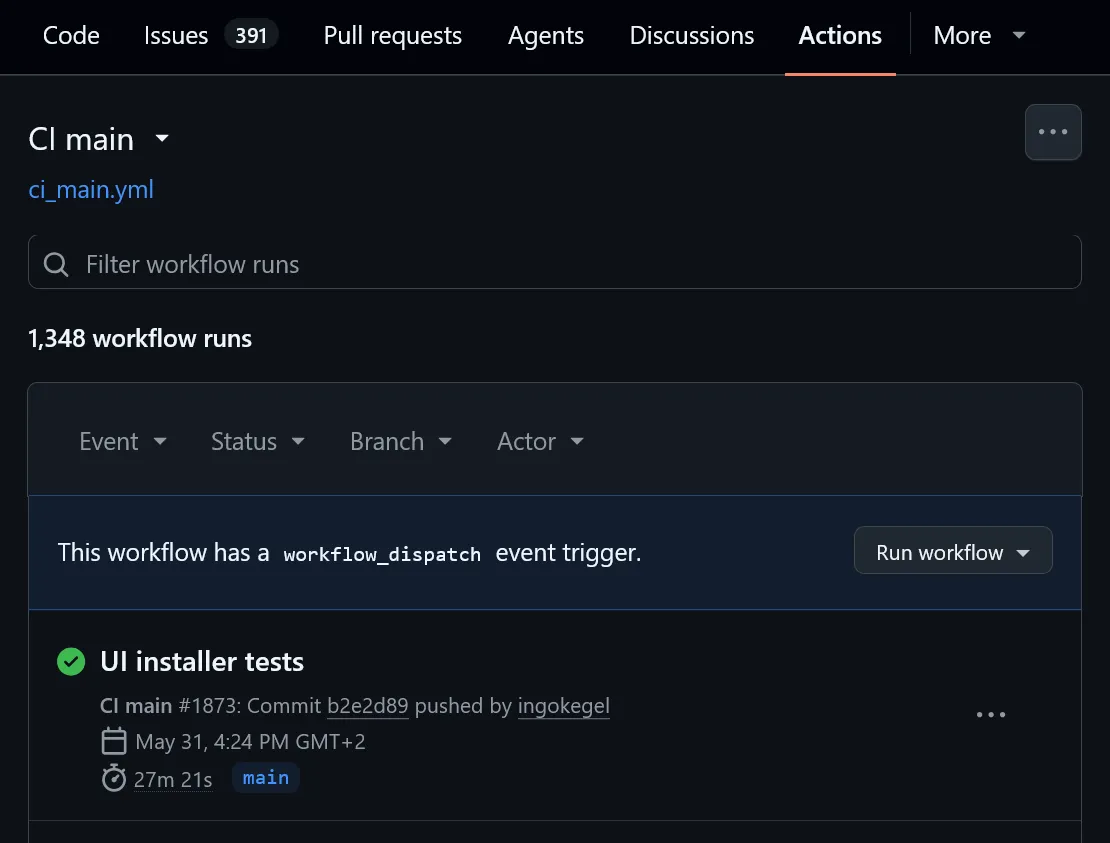
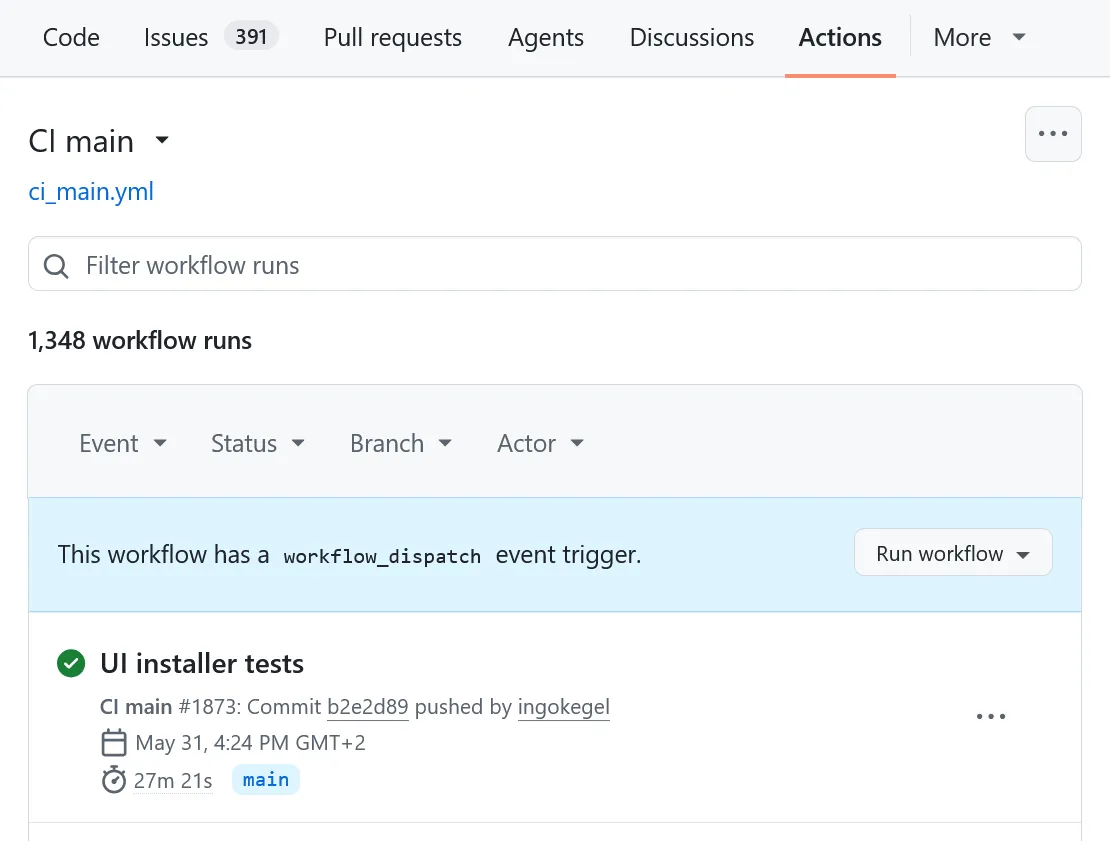
These GUI tests can even be run headless in CI. On Linux without a display, such as a GitHub Actions runner, the
installer subprocess is automatically wrapped in xvfb-run together with a lightweight window manager, so the
installer is rendered into a virtual framebuffer and the tests run without any physical screen. All that is required on the
machine is xvfb-run and one of the supported window managers (metacity, mutter, openbox, fluxbox, or marco).
A rich terminal UI has been added for console mode. Console mode is how an install4j installer runs when
there is no graphical display. Previous versions of install4j supported a plain console mode only.
When the installer runs with Java 25 or later in an ANSI-capable terminal, console mode now renders a modern, interactive UI:
-
Colored output so that success and error messages stand out.
-
A live progress bar with a percentage, with status and detail rows that update in place instead of scrolling past.
Long files paths are shortened in the middle so that the beginning and the end stay visible.
-
A spinner for work whose duration is not known.
-
Single-choice lists navigated with the arrow keys, used for option menus and for Yes/No and OK/Cancel confirmations.
-
Multi-selection from a checkbox list.
-
Text and masked password input, and file and directory prompts with
tab completion.
-
A built-in pager for long text such as license agreements, optionally requiring the user to scroll to the end.
The rich renderer falls back to the plain console automatically when running on an older Java version or
when there is no terminal with sufficient capabilities, for example when output is redirected to a file or piped to another process.
The plain renderer can be forced by passing -J-Dinstall4j.plainConsole=true to the installer.
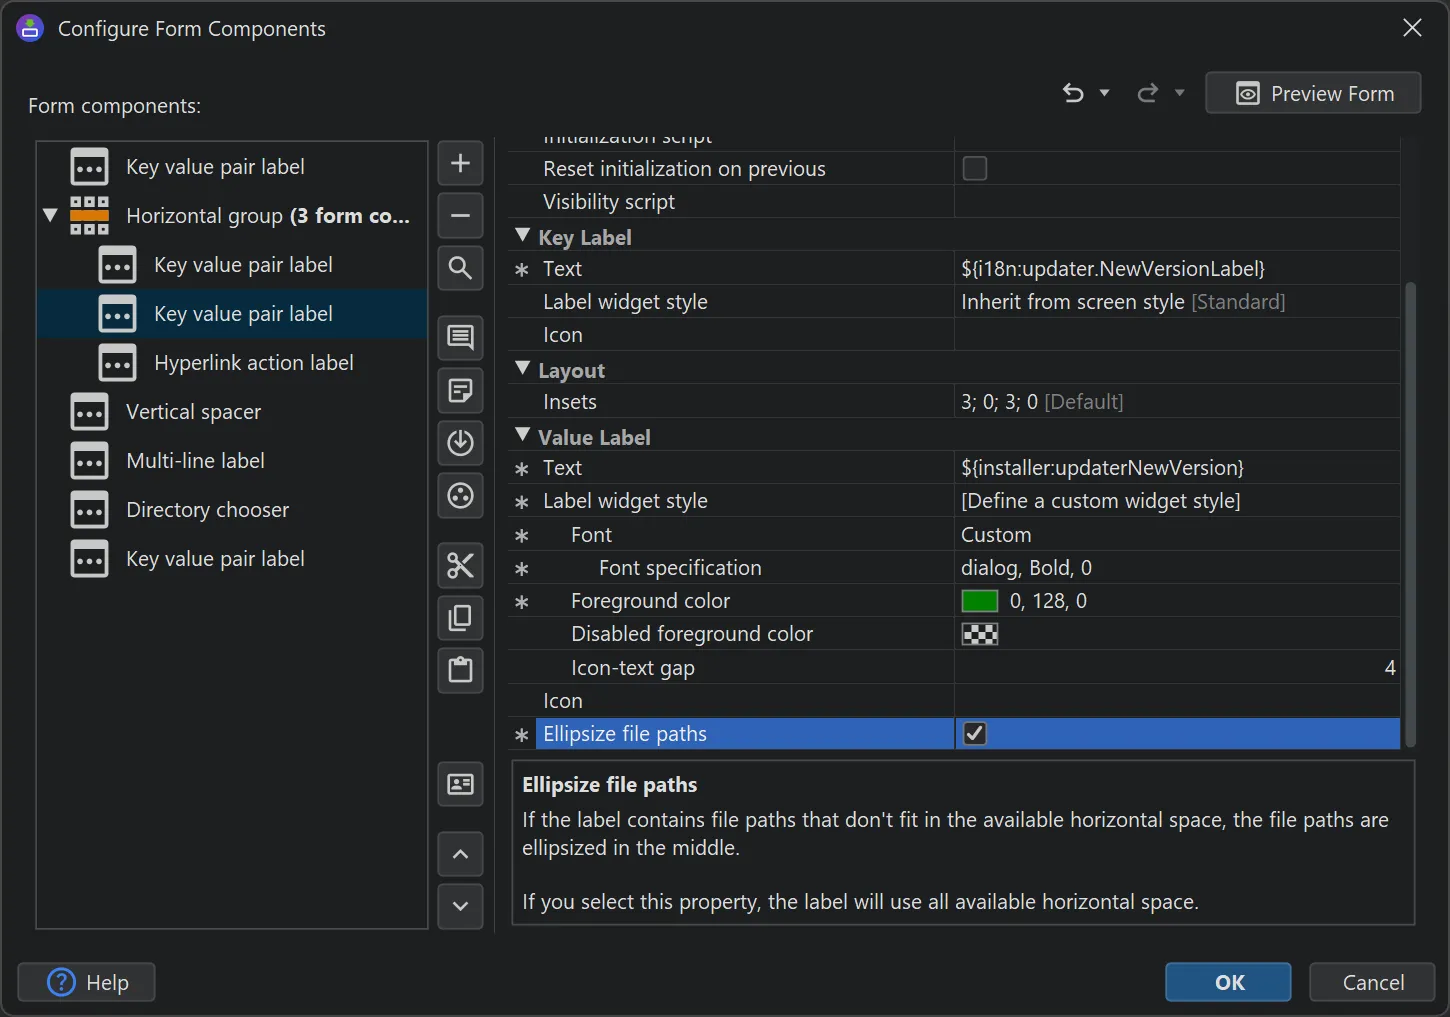
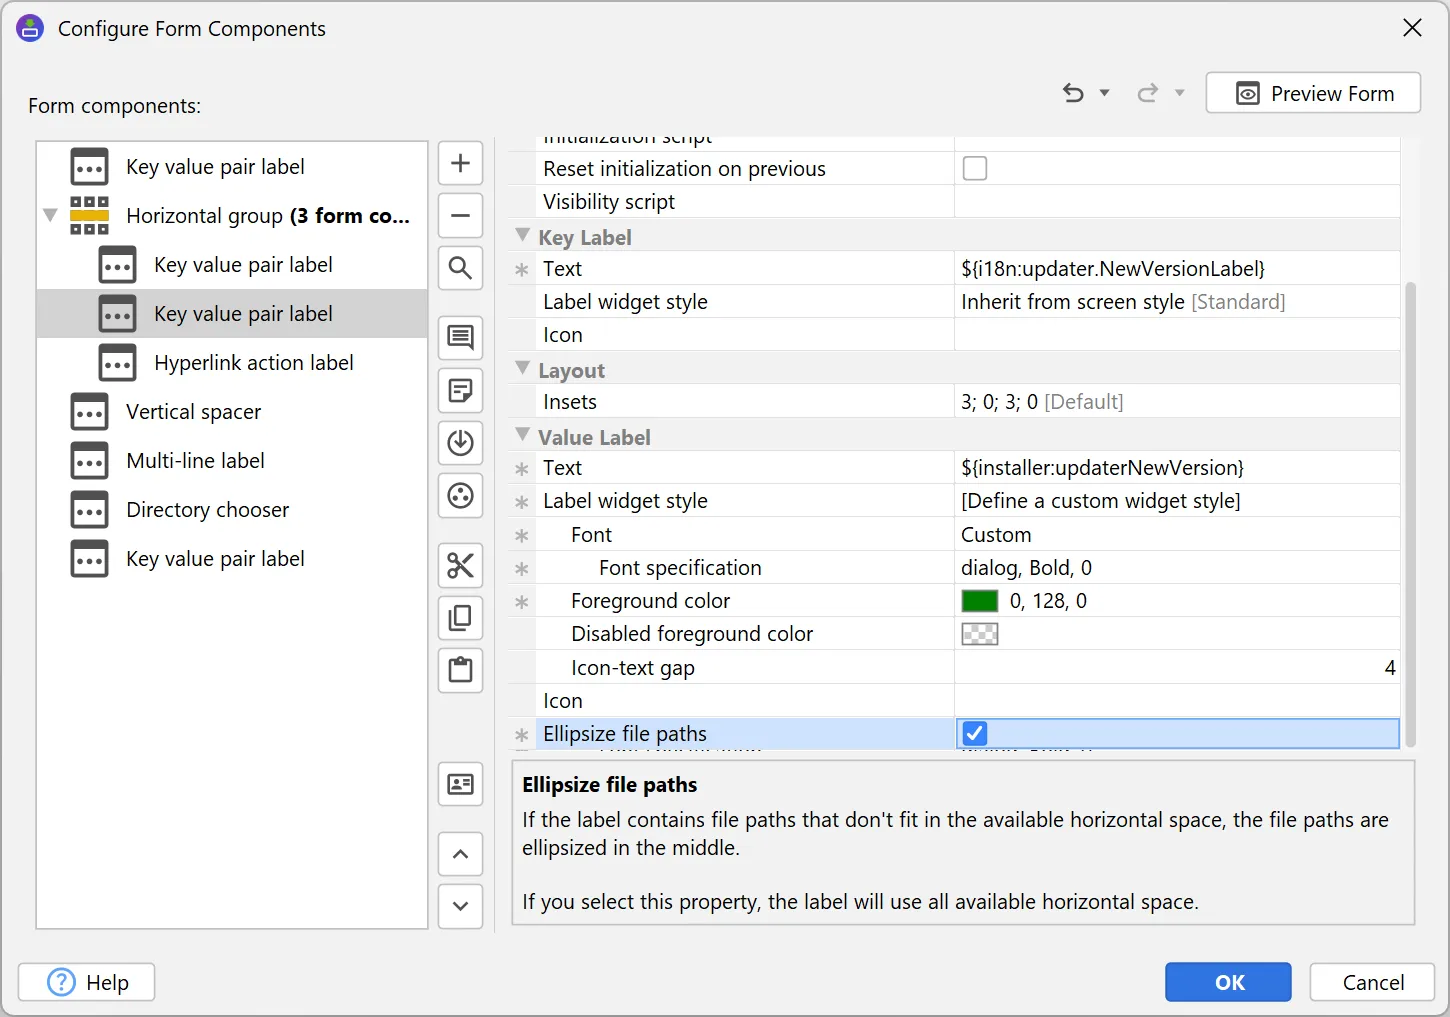
The "Label" and "Key-value pair" form components have a new "Ellipsize file paths" property. When the label
contains a file path that does not fit the available horizontal space, inner path components are replaced with an ellipsis
so that the beginning and the end of the path remain visible.
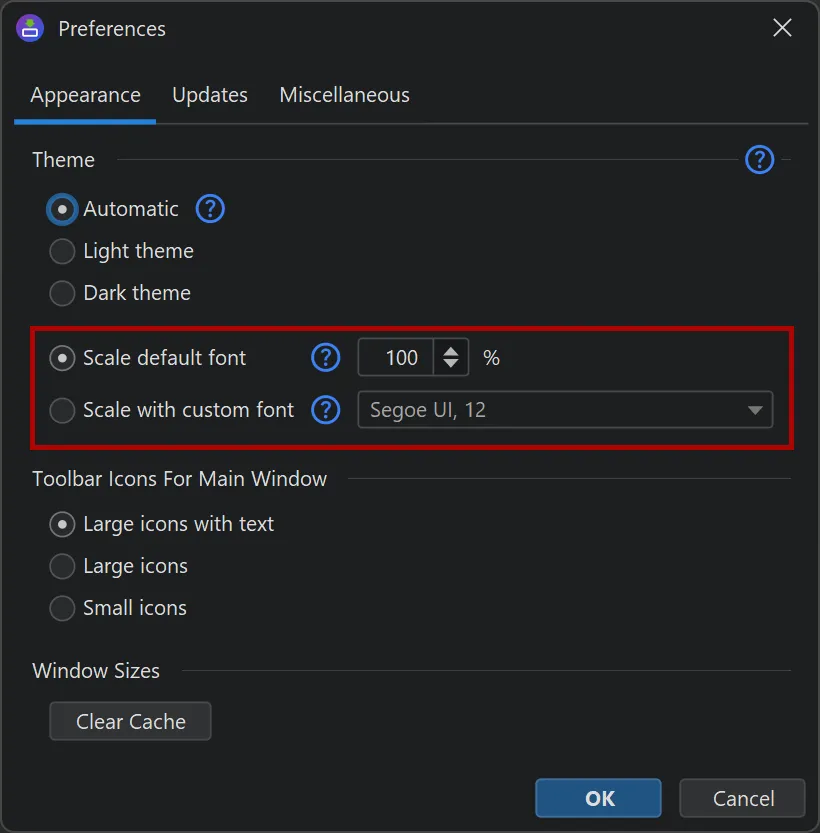
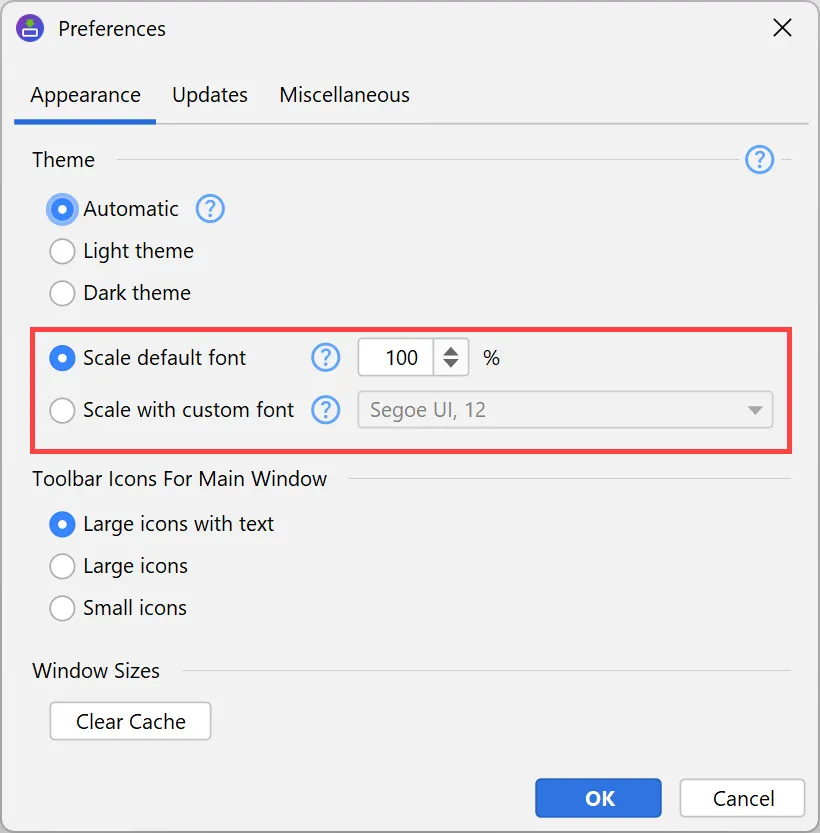
The install4j IDE is now fully scalable. In the general settings, you can either set a scale factor as a percentage, or set a
custom UI font with an arbitrary size, and the UI will be scaled accordingly.
This capability now allows the install4j IDE to run on Linux with all OpenJDK variants and for all HiDPI resolutions.
Previously, only the JetBrains runtime was supported on Linux with HiDPI resolutions.
A new user home launcher variable has been added. Like the other
${launcher:...} variables, it is expanded by the launcher itself when it starts (now also in
.vmoptions files on Linux) and resolves to the home directory of the current user.
This is useful, for
example, to point VM parameters or arguments at a user-specific configuration directory.
Support for the new main methods from JEP 512 has been added. JEP 512 ("Compact Source Files and Instance Main
Methods"), finalized in Java 25, allows a main method to be declared as an instance method and to omit the
String[] parameter.
A launcher can now point at a class whose entry point is, for example, an instance
void main() method, in addition to the classic public static void main(String[] args).